
As soon as I got the Simple Metal printer working, I wanted to take it apart and make it work better. A heated bed was the most functional upgrade as it allowed me to ditch the blue masking tape and move to glass or kapton tape and remove my PLA shackles, allowing me to print in theoretically any plastic (realistically ABS). The heated bed upgrade from Printrbot was very easy to install and worked pretty well up to about 80 C. I did use thermal grease between the PCB heater and the aluminum bed because the finish was really rough. It might have been too rough for the thermal grease to help but it ended up working. I added some cardboard and a mousepad underneath the PCB heater to help guide the heat up to the print bed instead of down to my Printrboard. With those modifications I was able to reach 100 C in about 20 minutes. Not great, but functional.
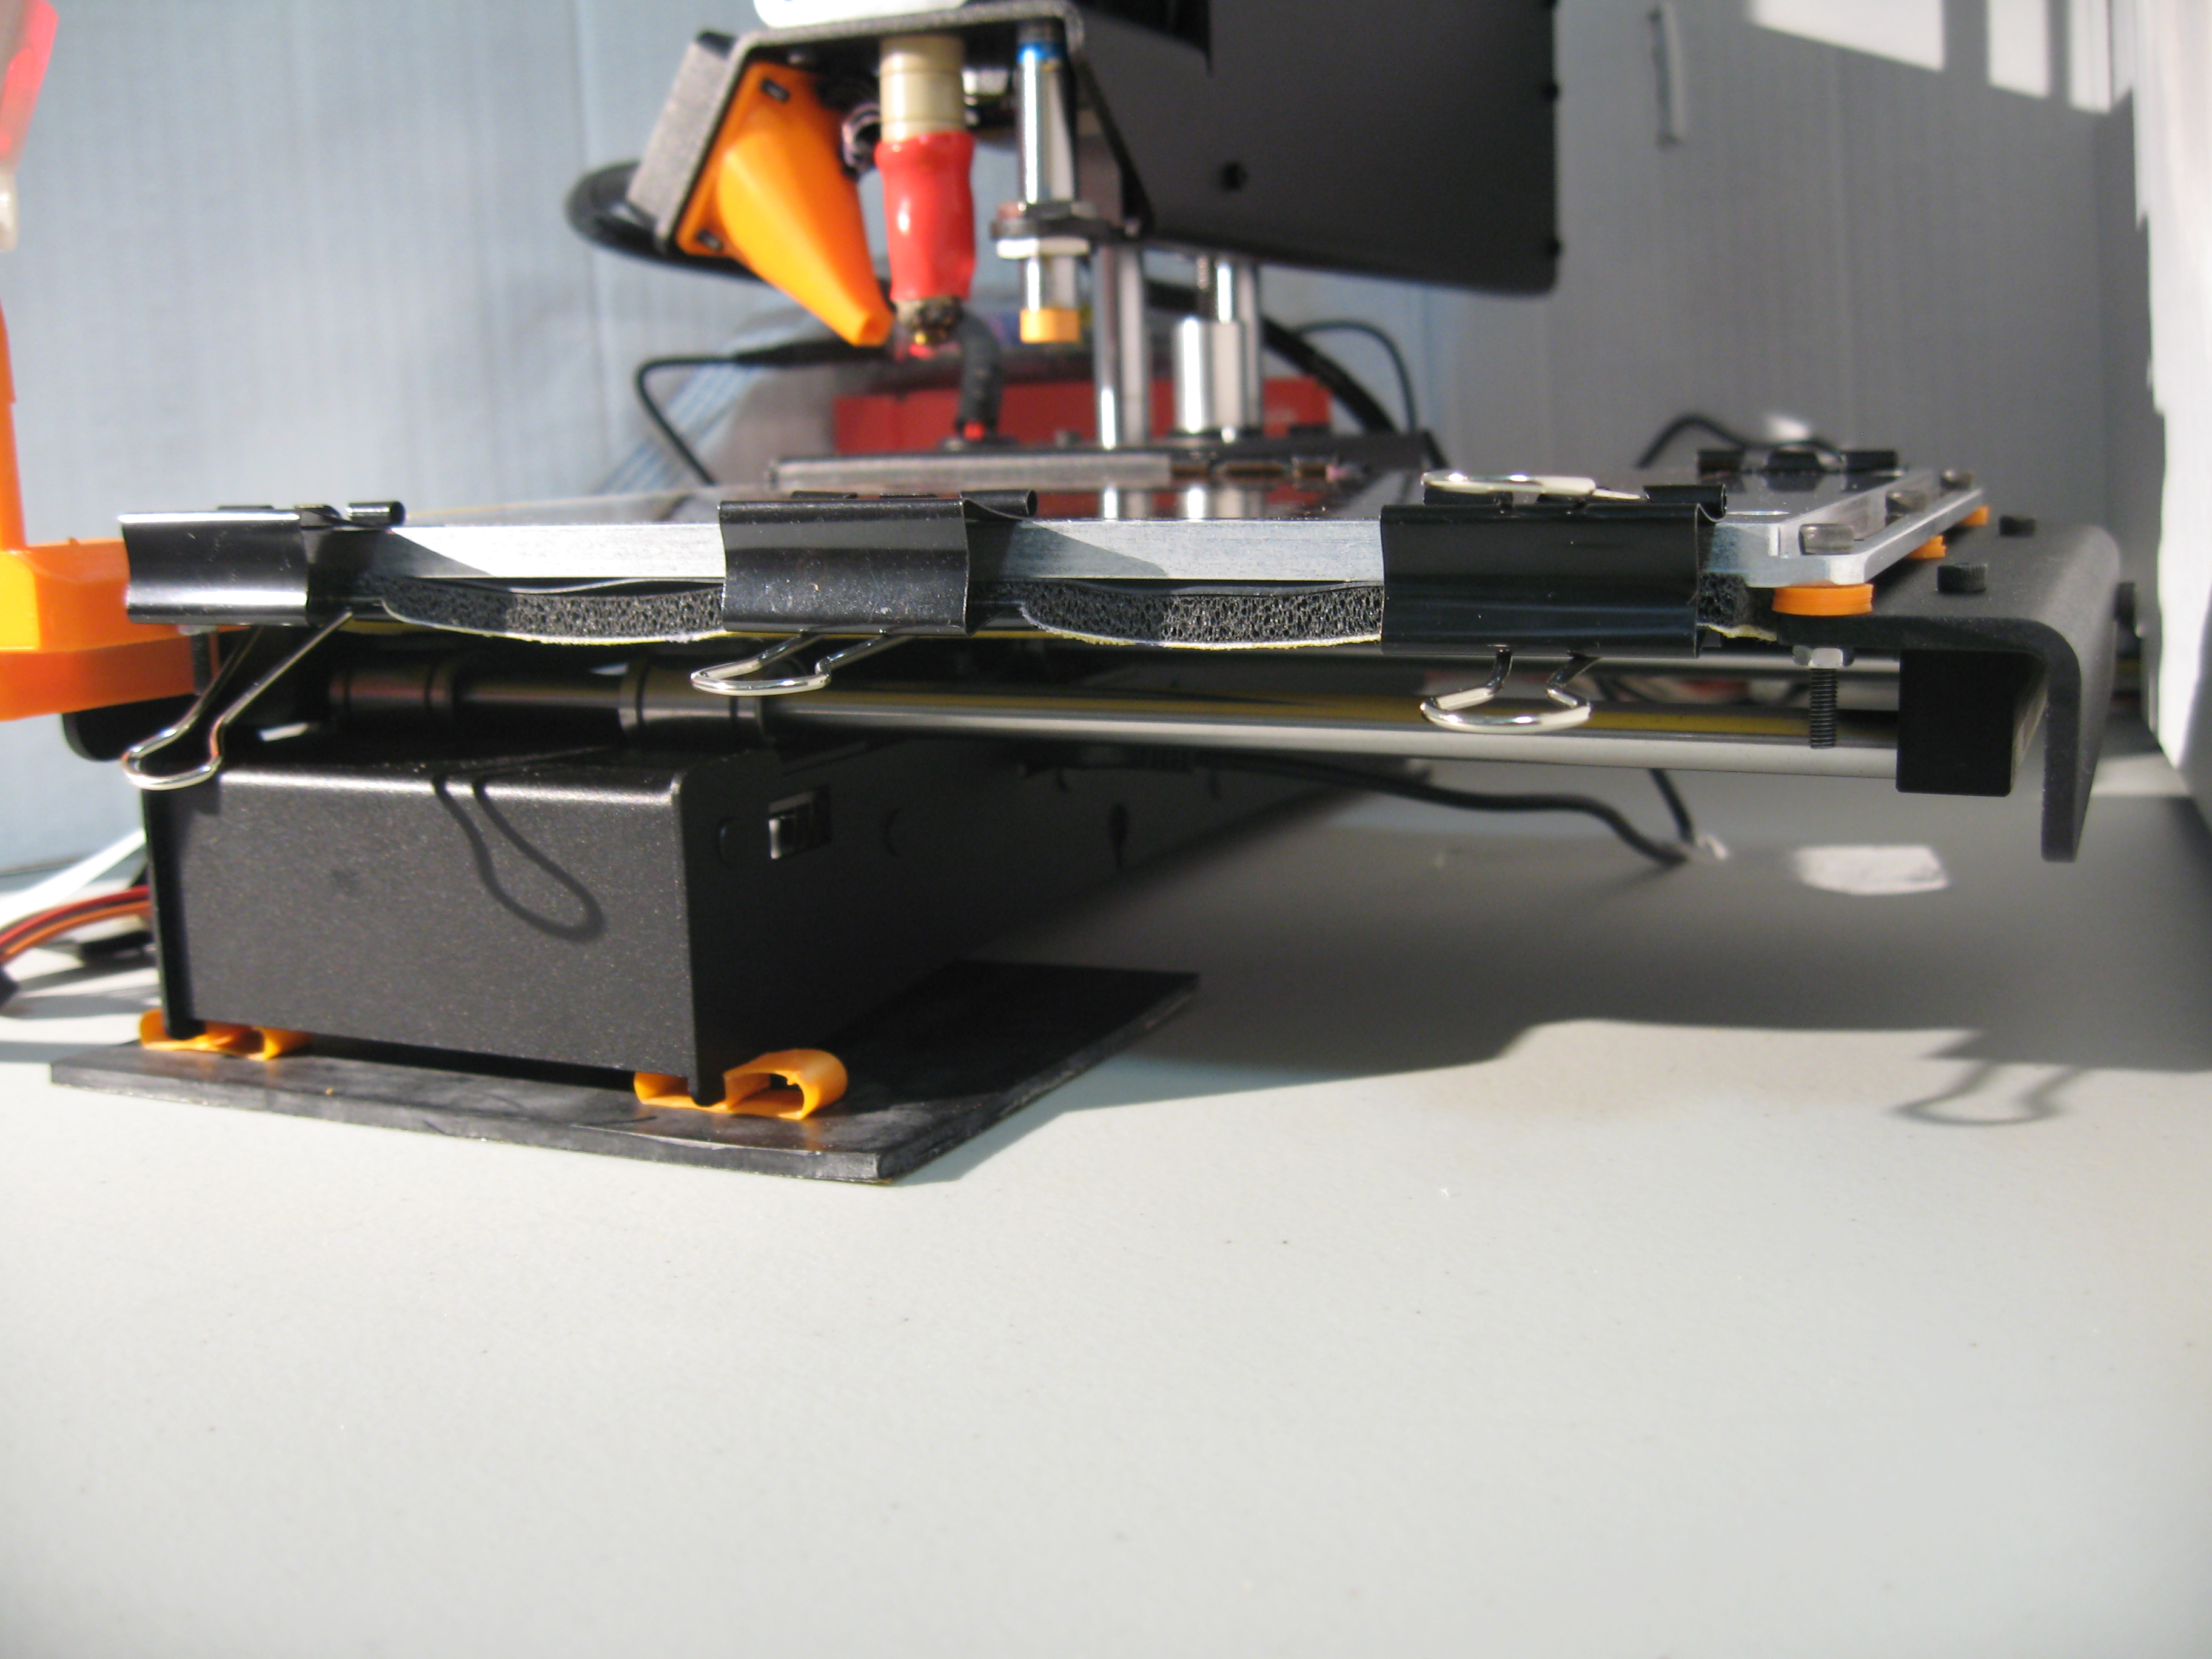
Heated Bed with makeshift insulation

Pipe insulation – Not as functional as cardboard, but looks better.
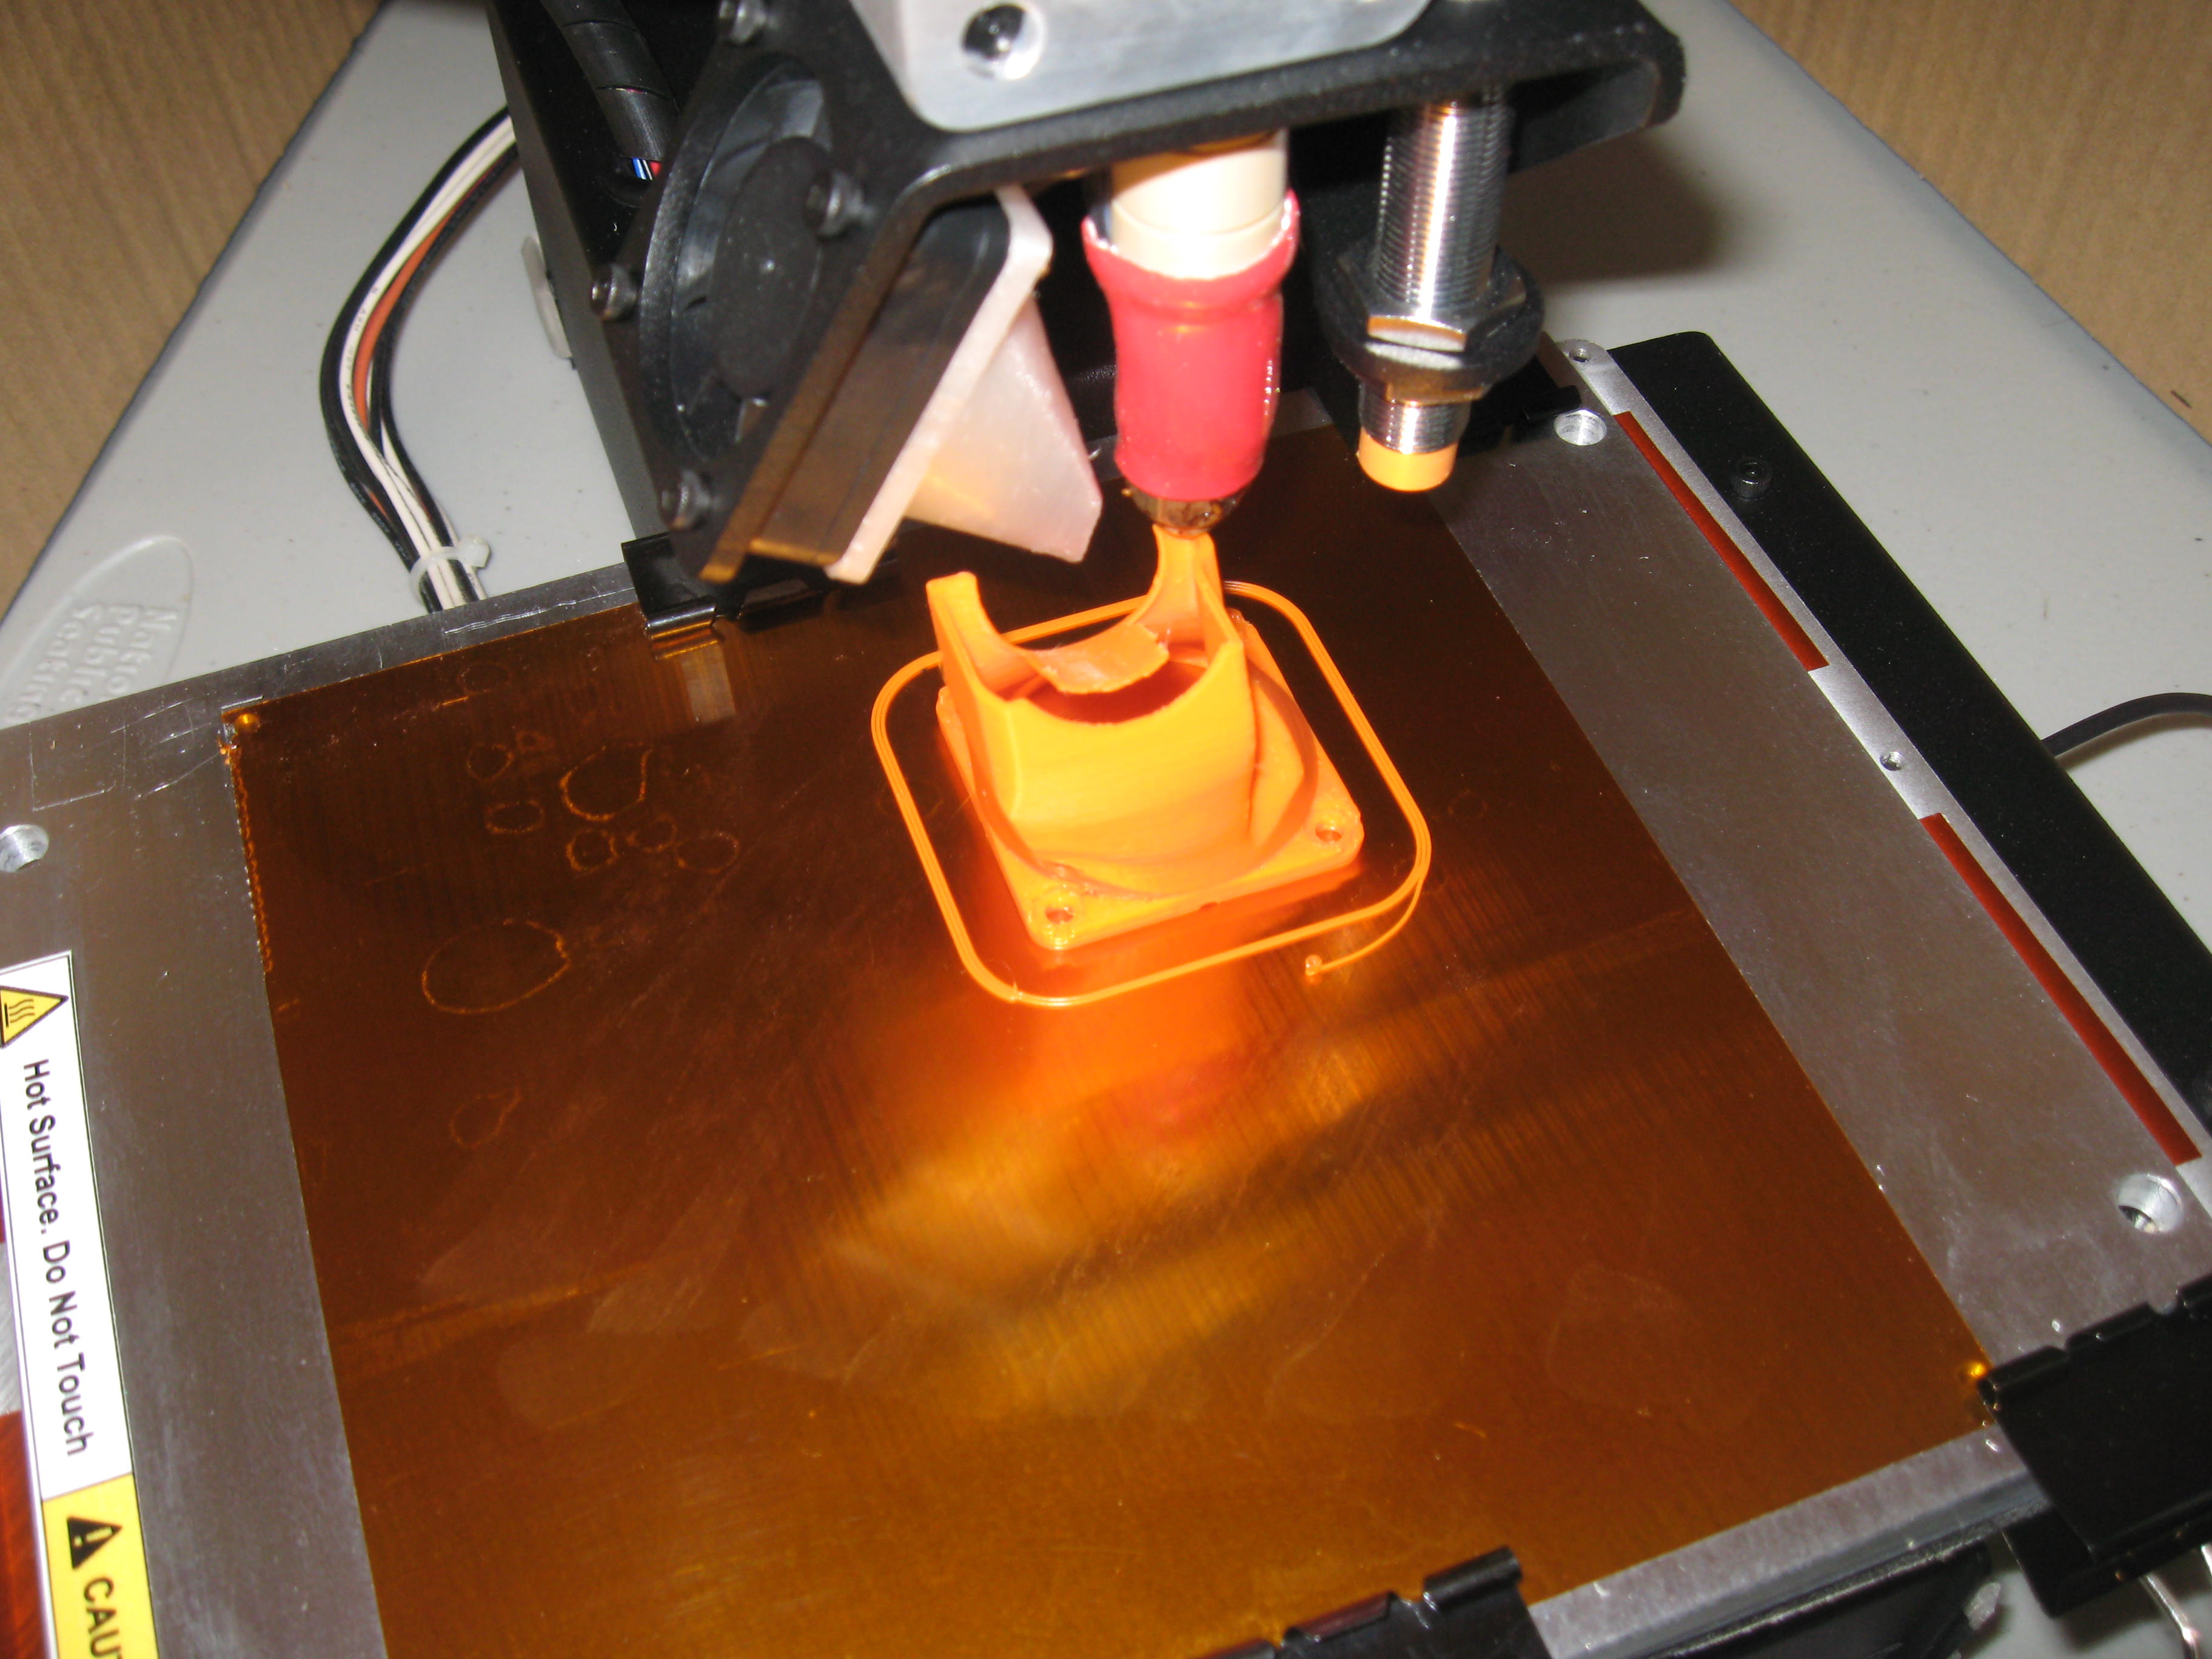
Fan shroud in “traffic-cone-orange” ABS
Initially I used the square of Kapton tape provided as my print bed surface. Covering the tape with purple glue stick worked very well for ABS and PLA. But I did not give the Kapton the respect and consideration it demands and ended up with some nasty bubbles.
The heated bed upgrade was not without flaws though. As the makeshift insulation might suggest, there are some design elements lacking here. Some issues that should be resolved for more satisfying prints include:
1. Insulation underneath the heater PCB
Solution: Cardboard, Mousepads, Pipe insulation, anything else that will help keep the heat in. I ended up using lots of binder clips to clamp it all together
2. Heat sinking from the black metal wings that connect to the x-axis belt
Solution: Just print some standoffs! You’ll lose some z-height but the bed will reach higher temperatures and do it more quickly
3. No space under the bed for insulation in the original configuration
Solution: Mount the heated bed on top of the wings. I know it’s designed to be mounted underneath to end up with a flush surface that looks really nice, but form over function is not to my taste.
Overall, the heated bed upgrade was an expensive solution for mediocre performance. But it can easily be hacked to resolve some design issues and result in a very functional print bed.