Try this for yourself. Pick up some polished silicon wafers and support our makerspace here: The MakerHive Store
There are two beautiful aspects of the internet.
1. At some point in time bsolutely everything has been / is / will be for sale online for a really good price
2. Thanks to awesome communities on forums and on Twitter the best stuff tends to bubble up so that I actually hear about it before it’s gone.
Such was the case with a case of 8″ silicon wafers from Electric Goldmine. A friend mentioned that these things are so cheap and interesting that they just had to be useful. And he was definitely right.
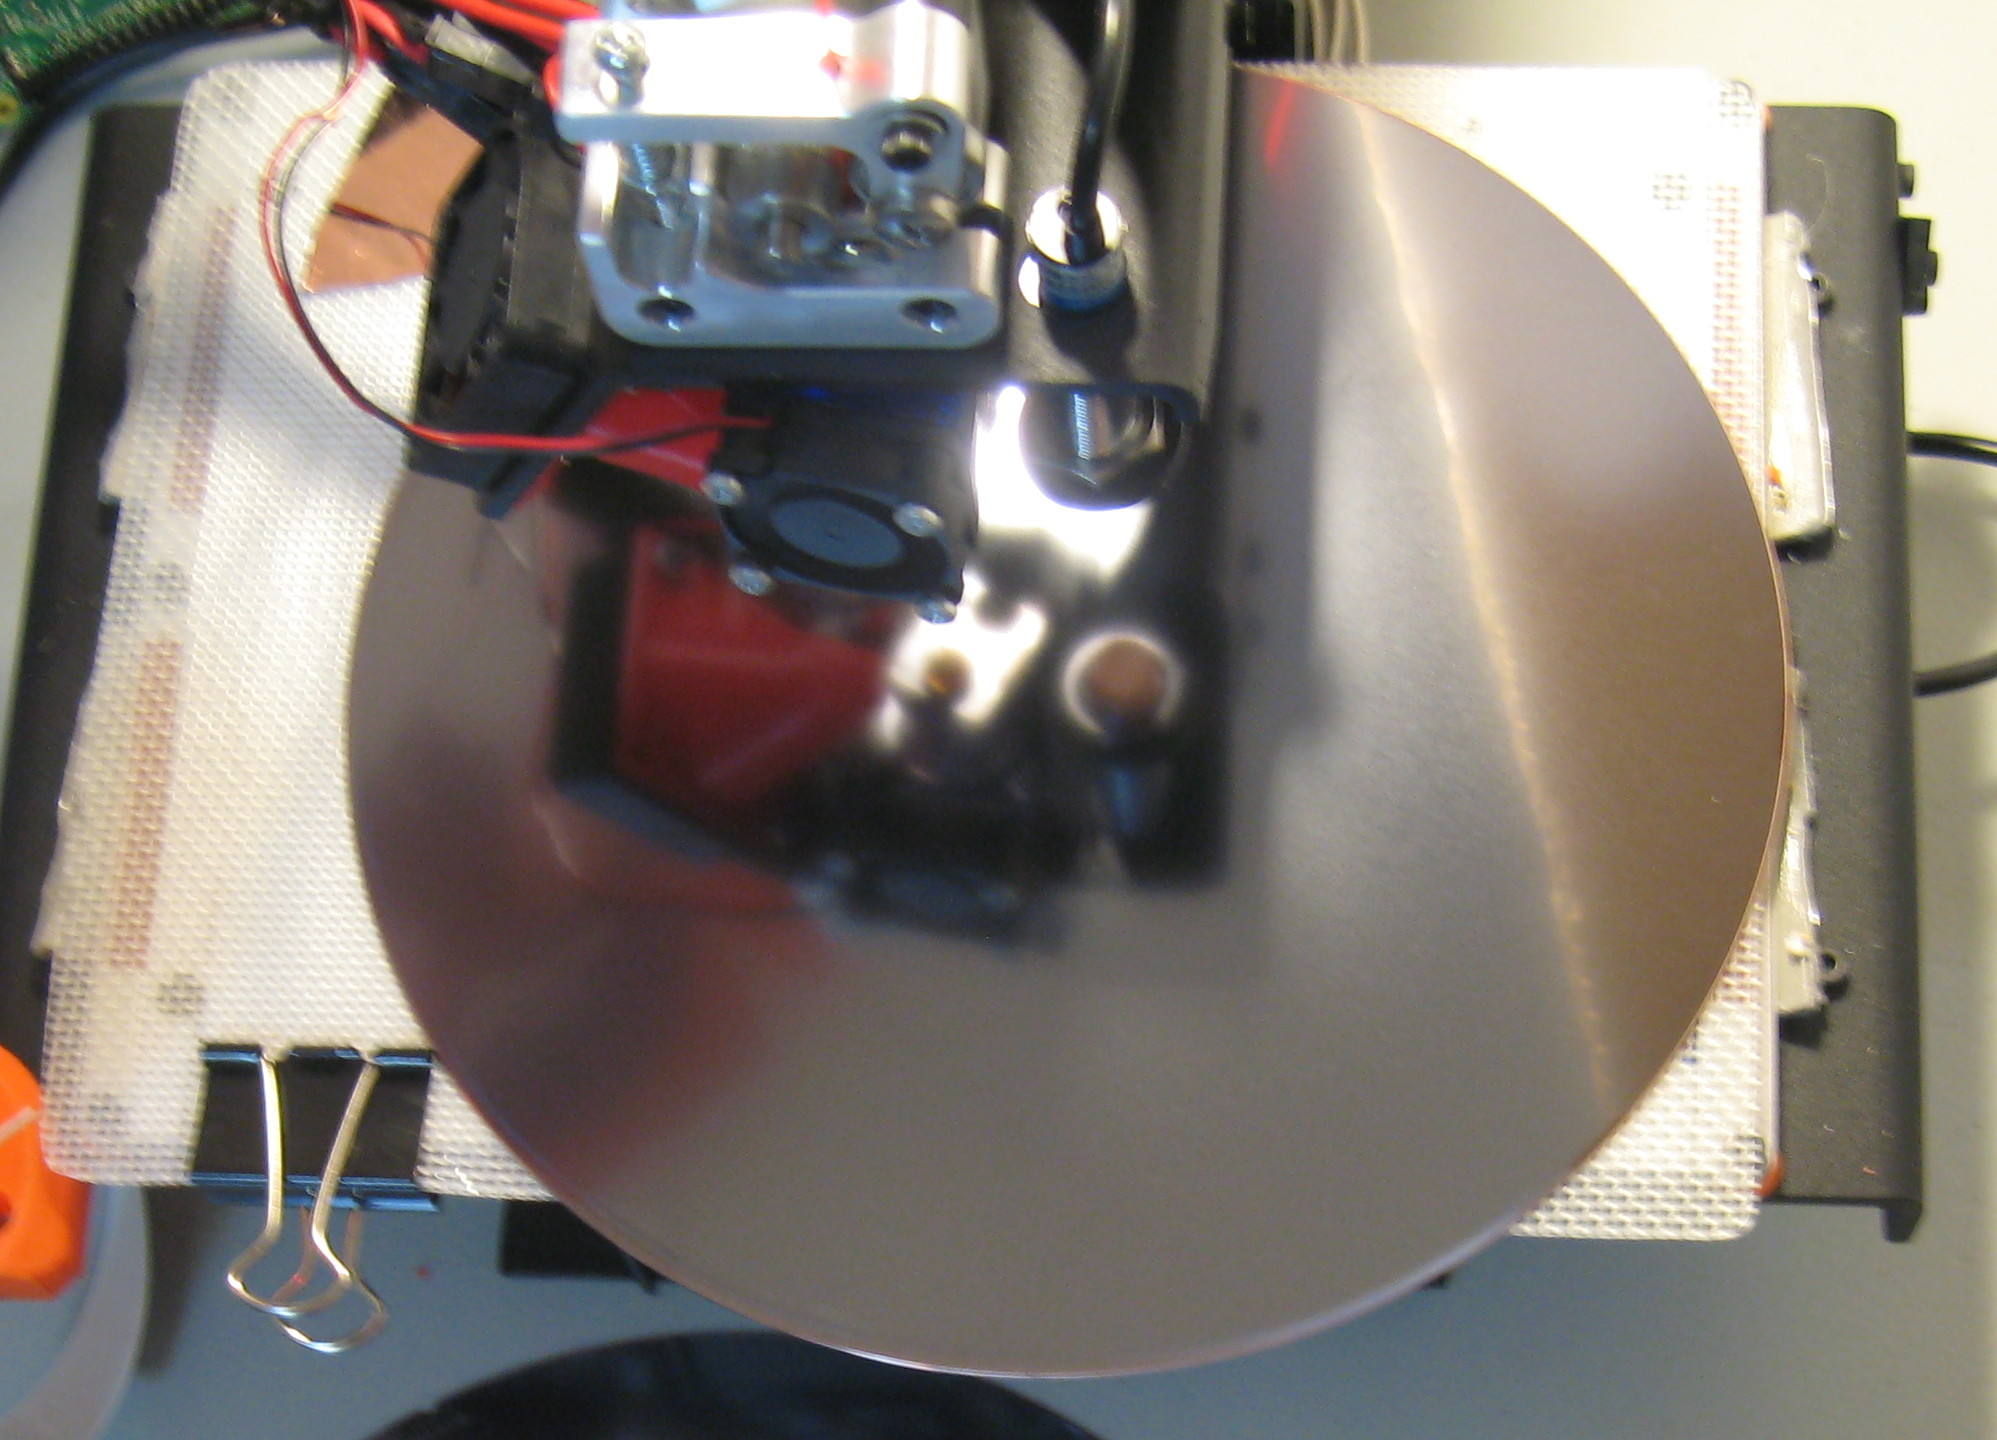
Round wafer on a very Cartesian printer
These wafers are an excellent print bed for several reasons, and they’re perfect for me for a few more reasons.
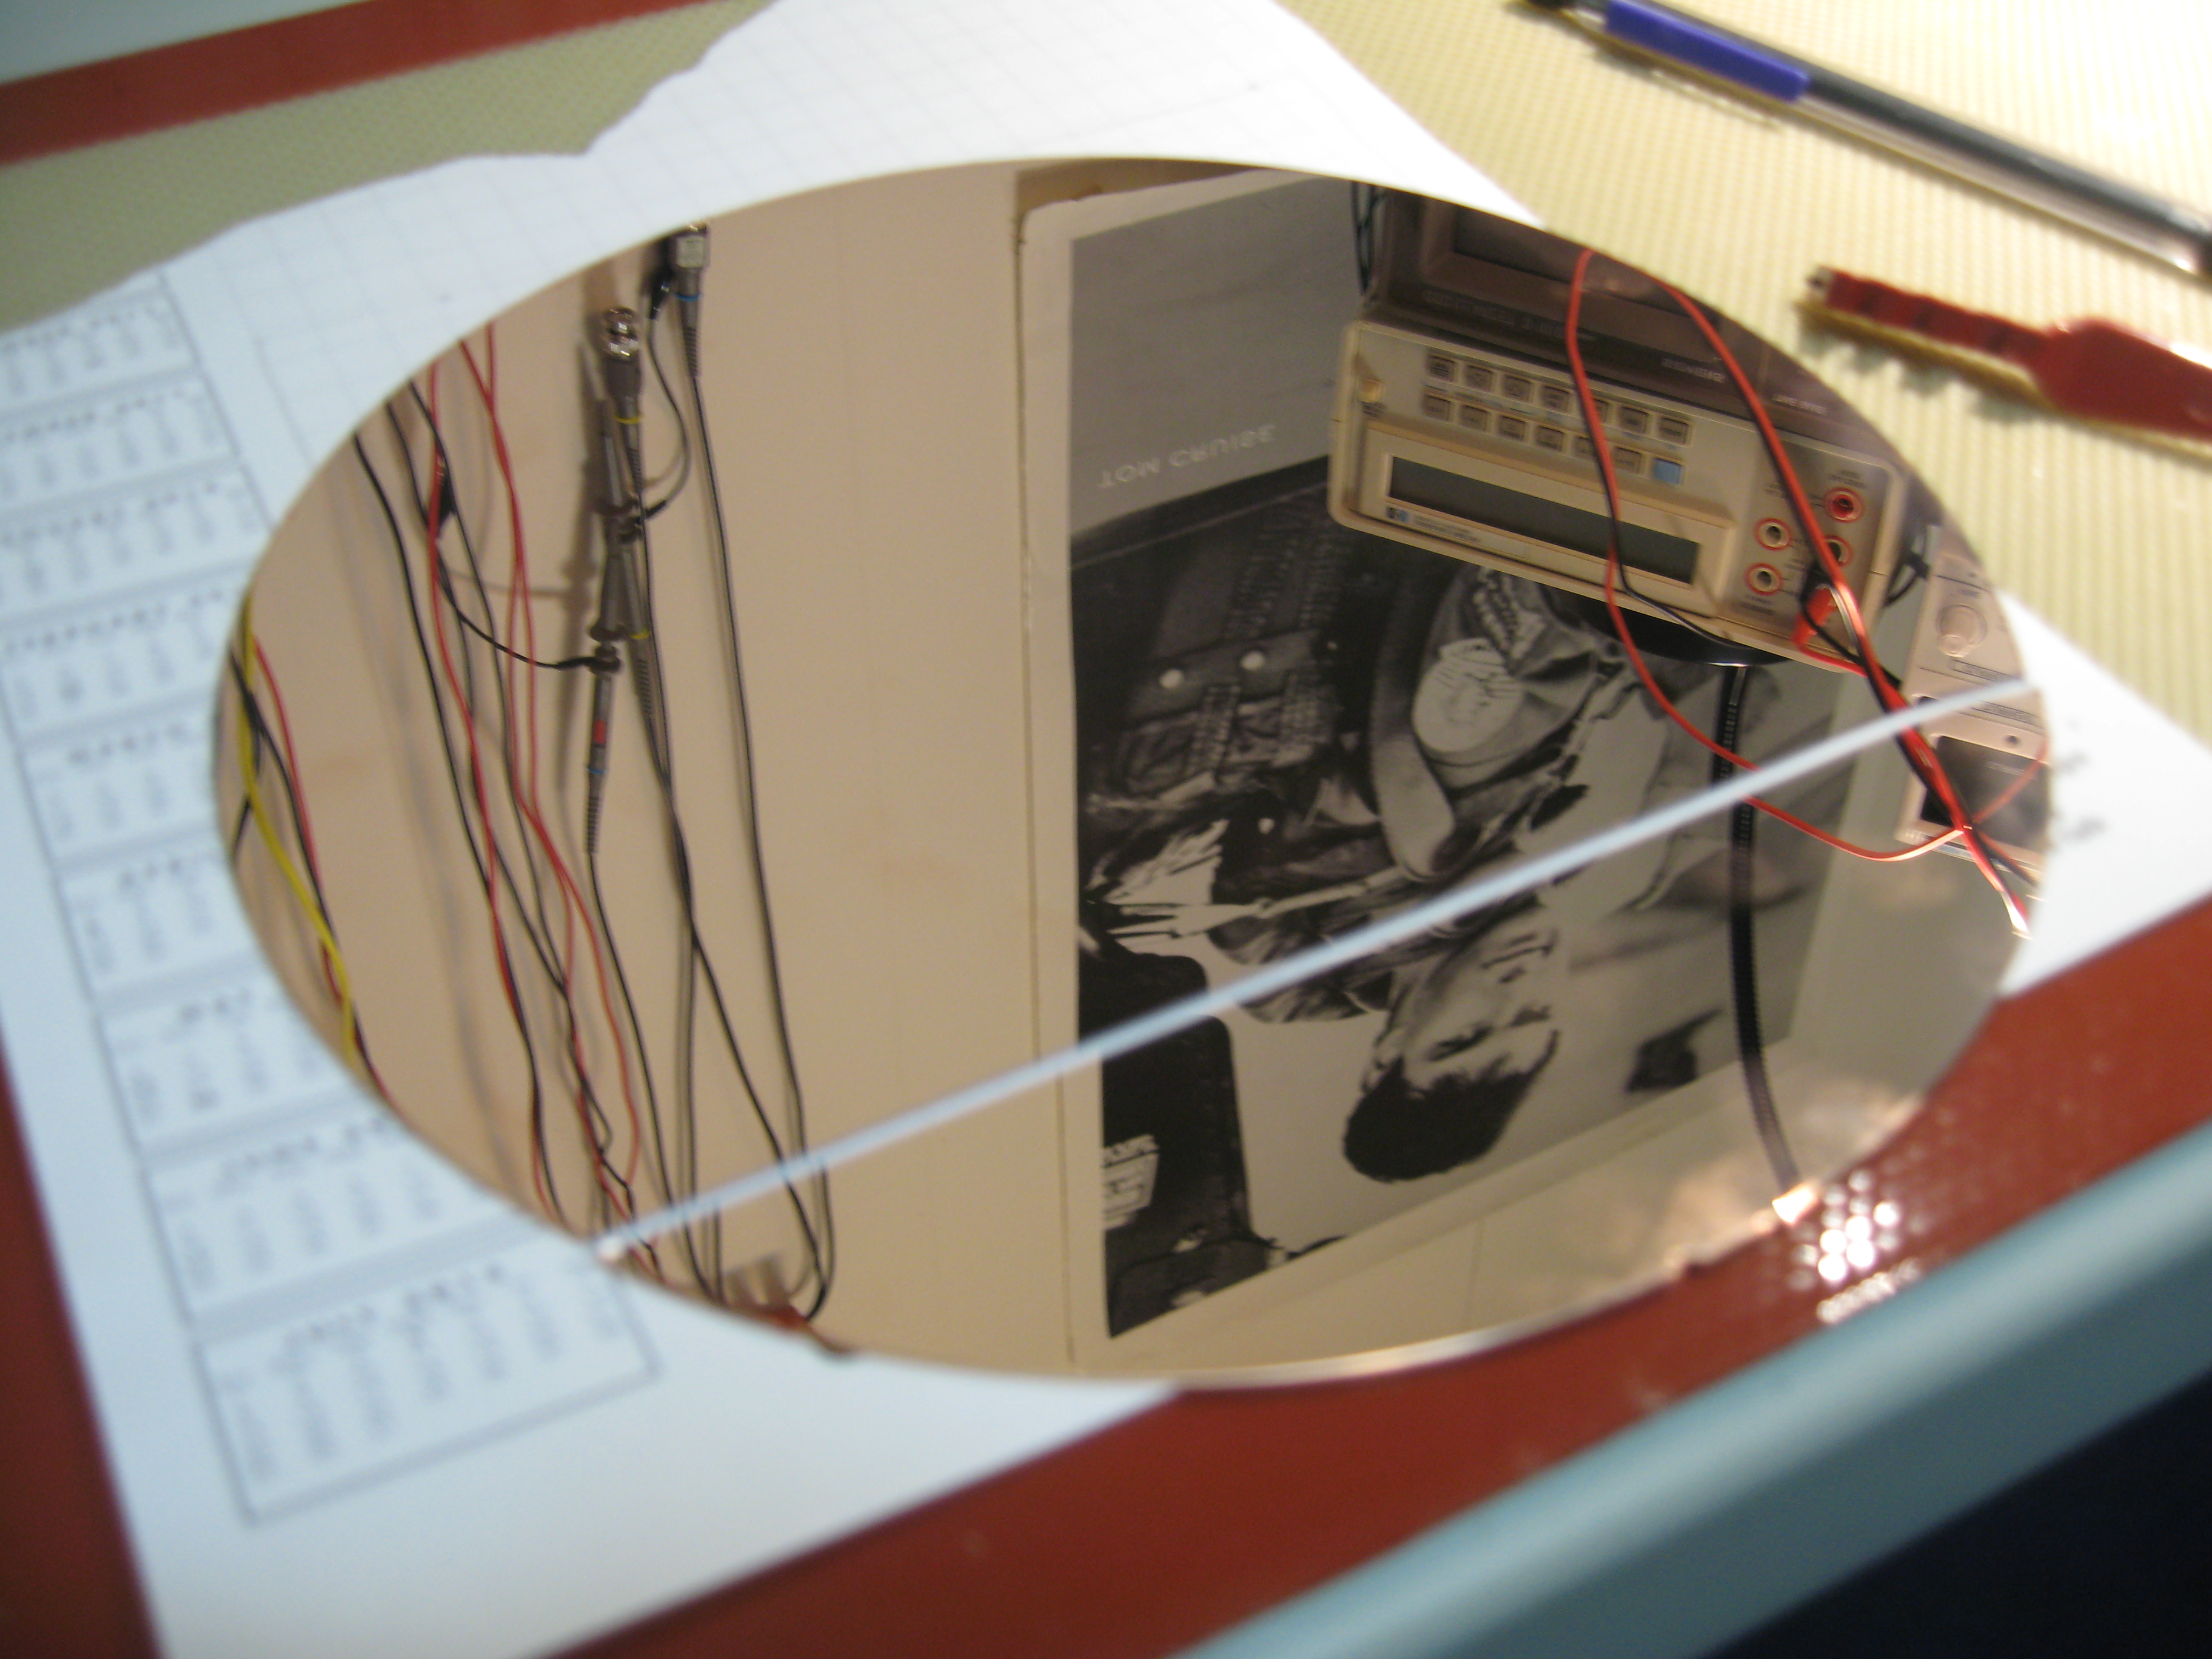
1. Planarity – lithography at sub 20 nm nodes probably doesn’t work so well if a wafer isn’t perfectly flat
2. Heat Transfer – the combination of excellent thermal conductivity (compared to glass) and rigidity in a relatively thin wafer (these are 0.7 mm) allows for quick heat up and cool down and elimination of hot/cold spots on the print surface.
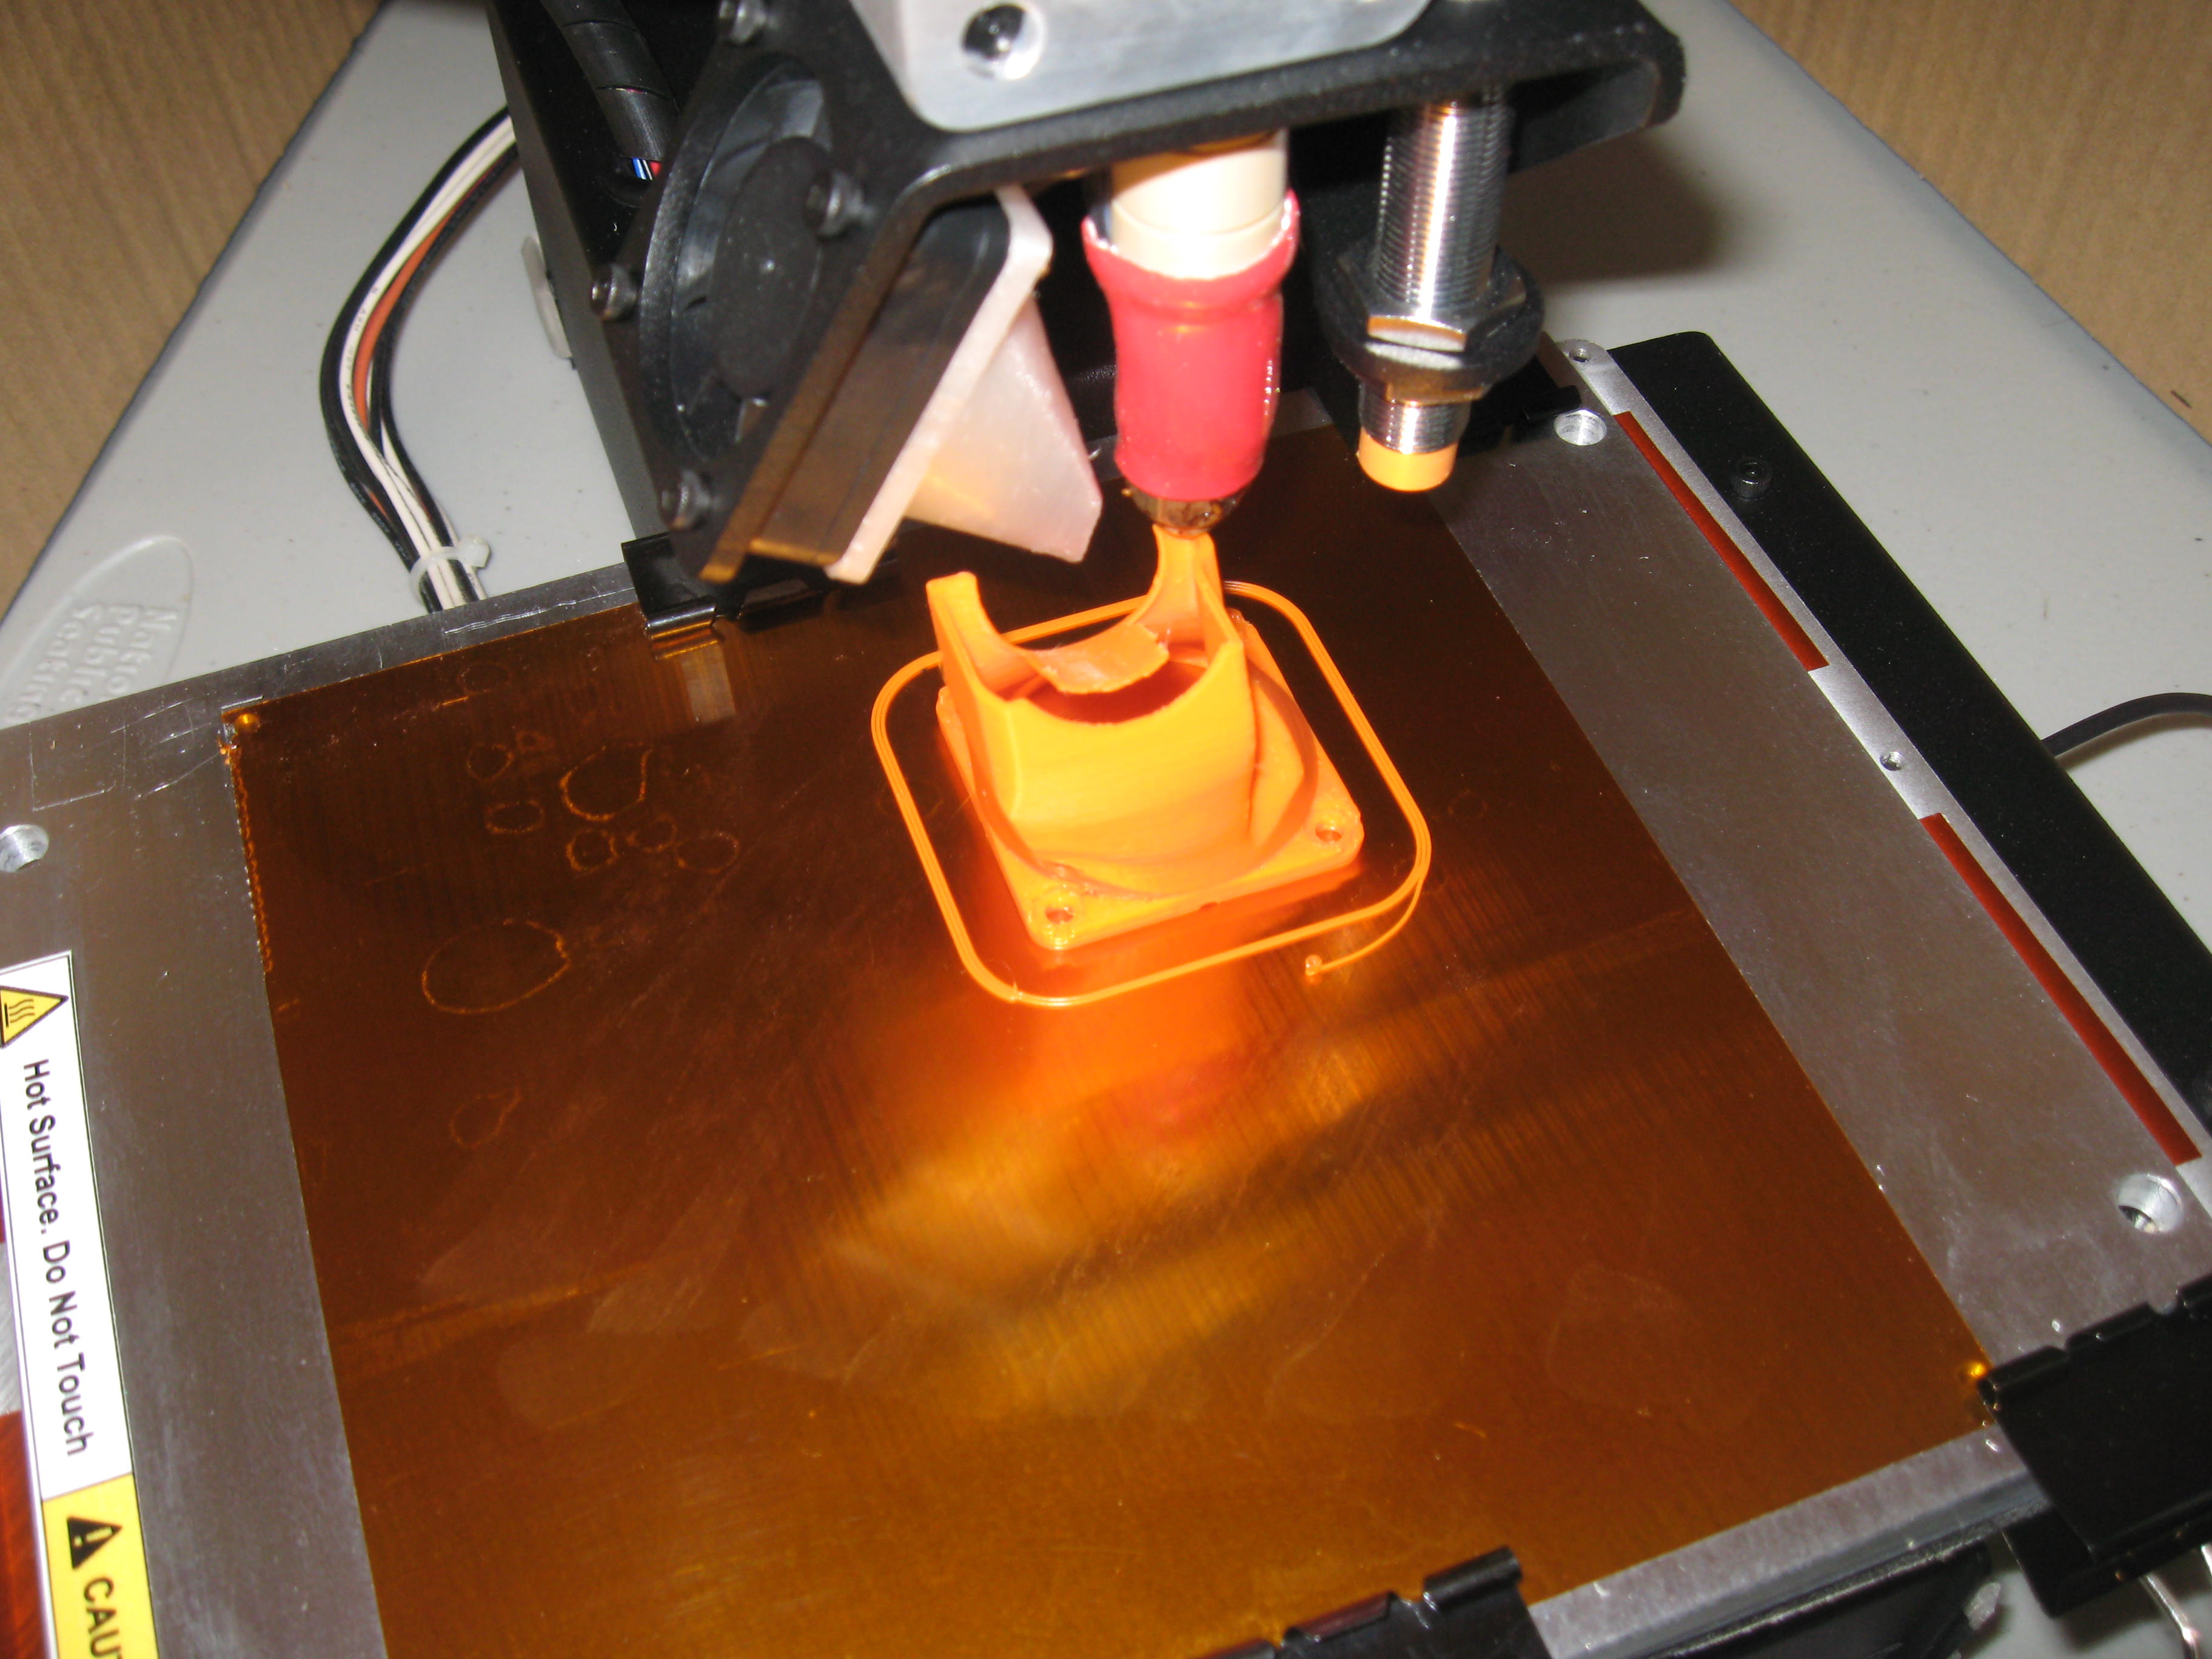
3. (just for me) Copper plated on one side – My Printrbot Simple Metal’s inductive probe looks for metal to tell how far away it is from the bed. Straight silicon doesn’t cut it. But one side of the wafer appears to be copper plated and polished. That creates a really nice surface for my auto-leveling probe to detect.
So how well does it work?
Pretty much like glass. I retried everything the internet told me to do when printing on glass, and ended up using purple glue stick again with really good results, just like on my previous glass bed.
Another huge advantage is that I’m not clamping the wafer to the print bed in any way. It is only resting on the silicone baking sheet which is clamped to the print bed. This way a wafer can be swapped out after a print for a fresh one, without waiting for the entire bed to cool down. I used to tell myself that 10 minutes to heat up here and 15 minutes to cool down there didn’t matter that much, but it does. What other lies am I telling myself?
Scribing wafers without a diamond scribe is a bad idea. At least Maverick is still giving me the thumbs-up
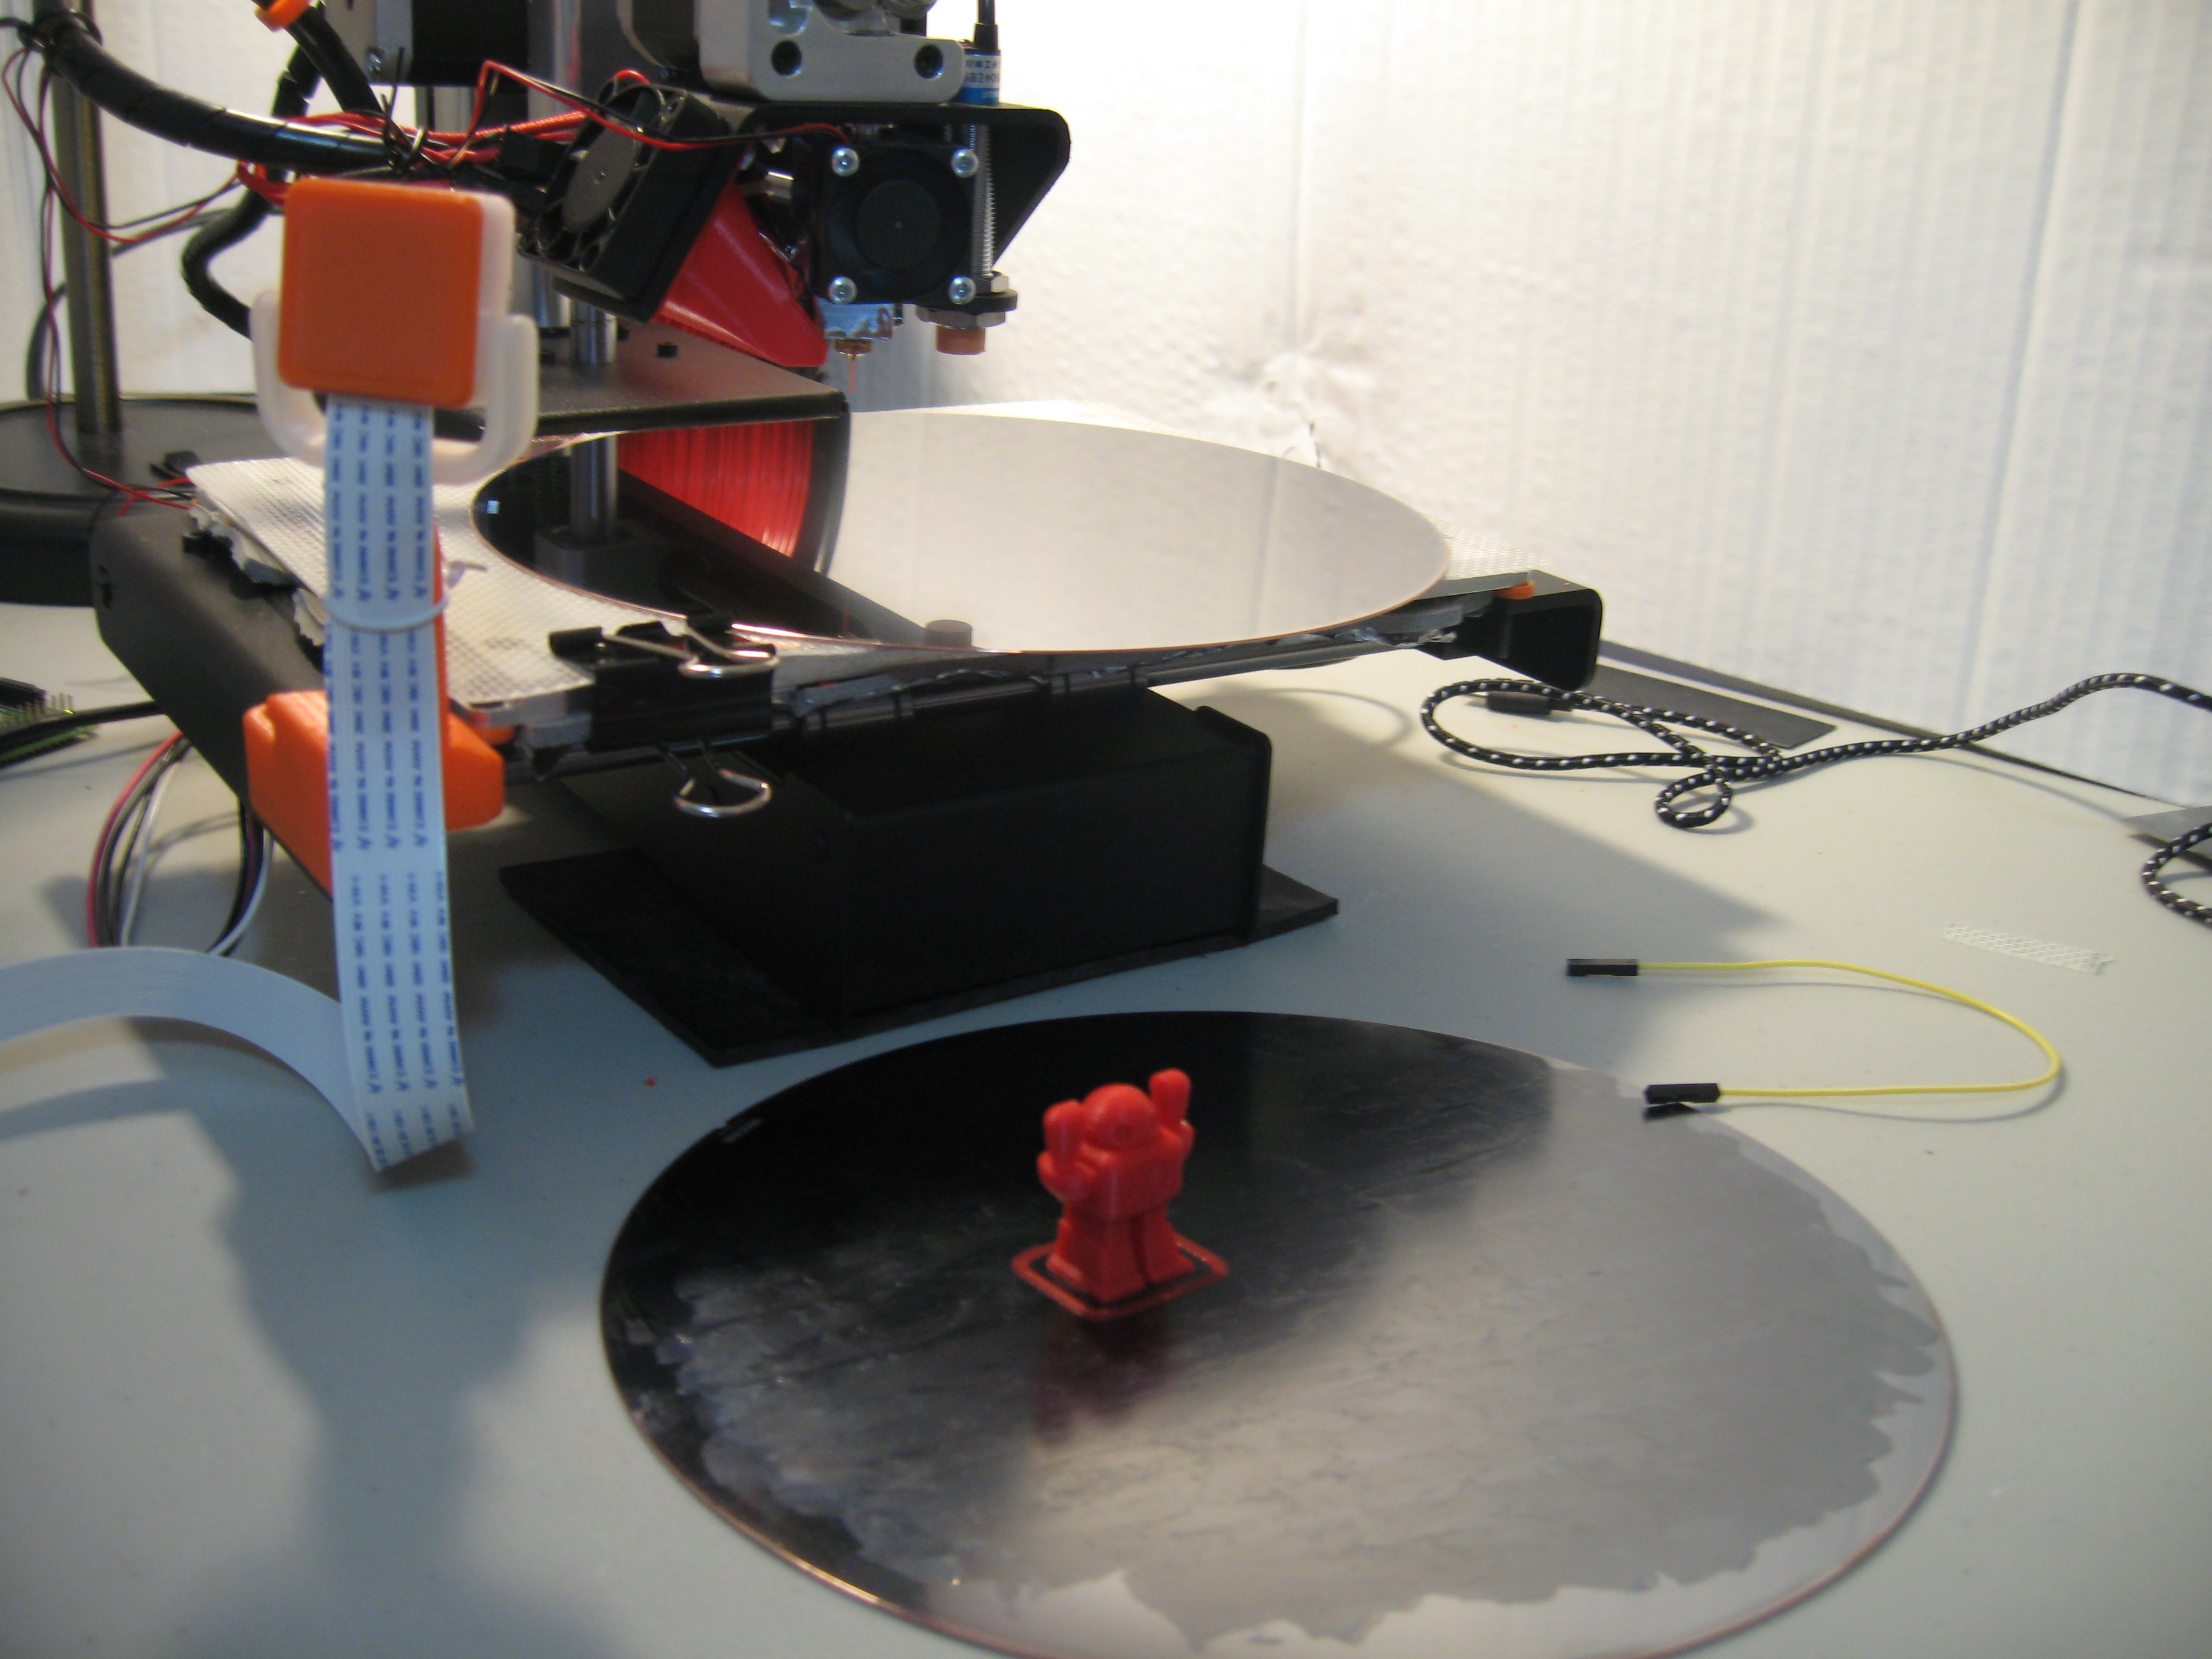
1 wafer post-print, another wafer loaded and waiting

Bat Owl rises from the silicon…
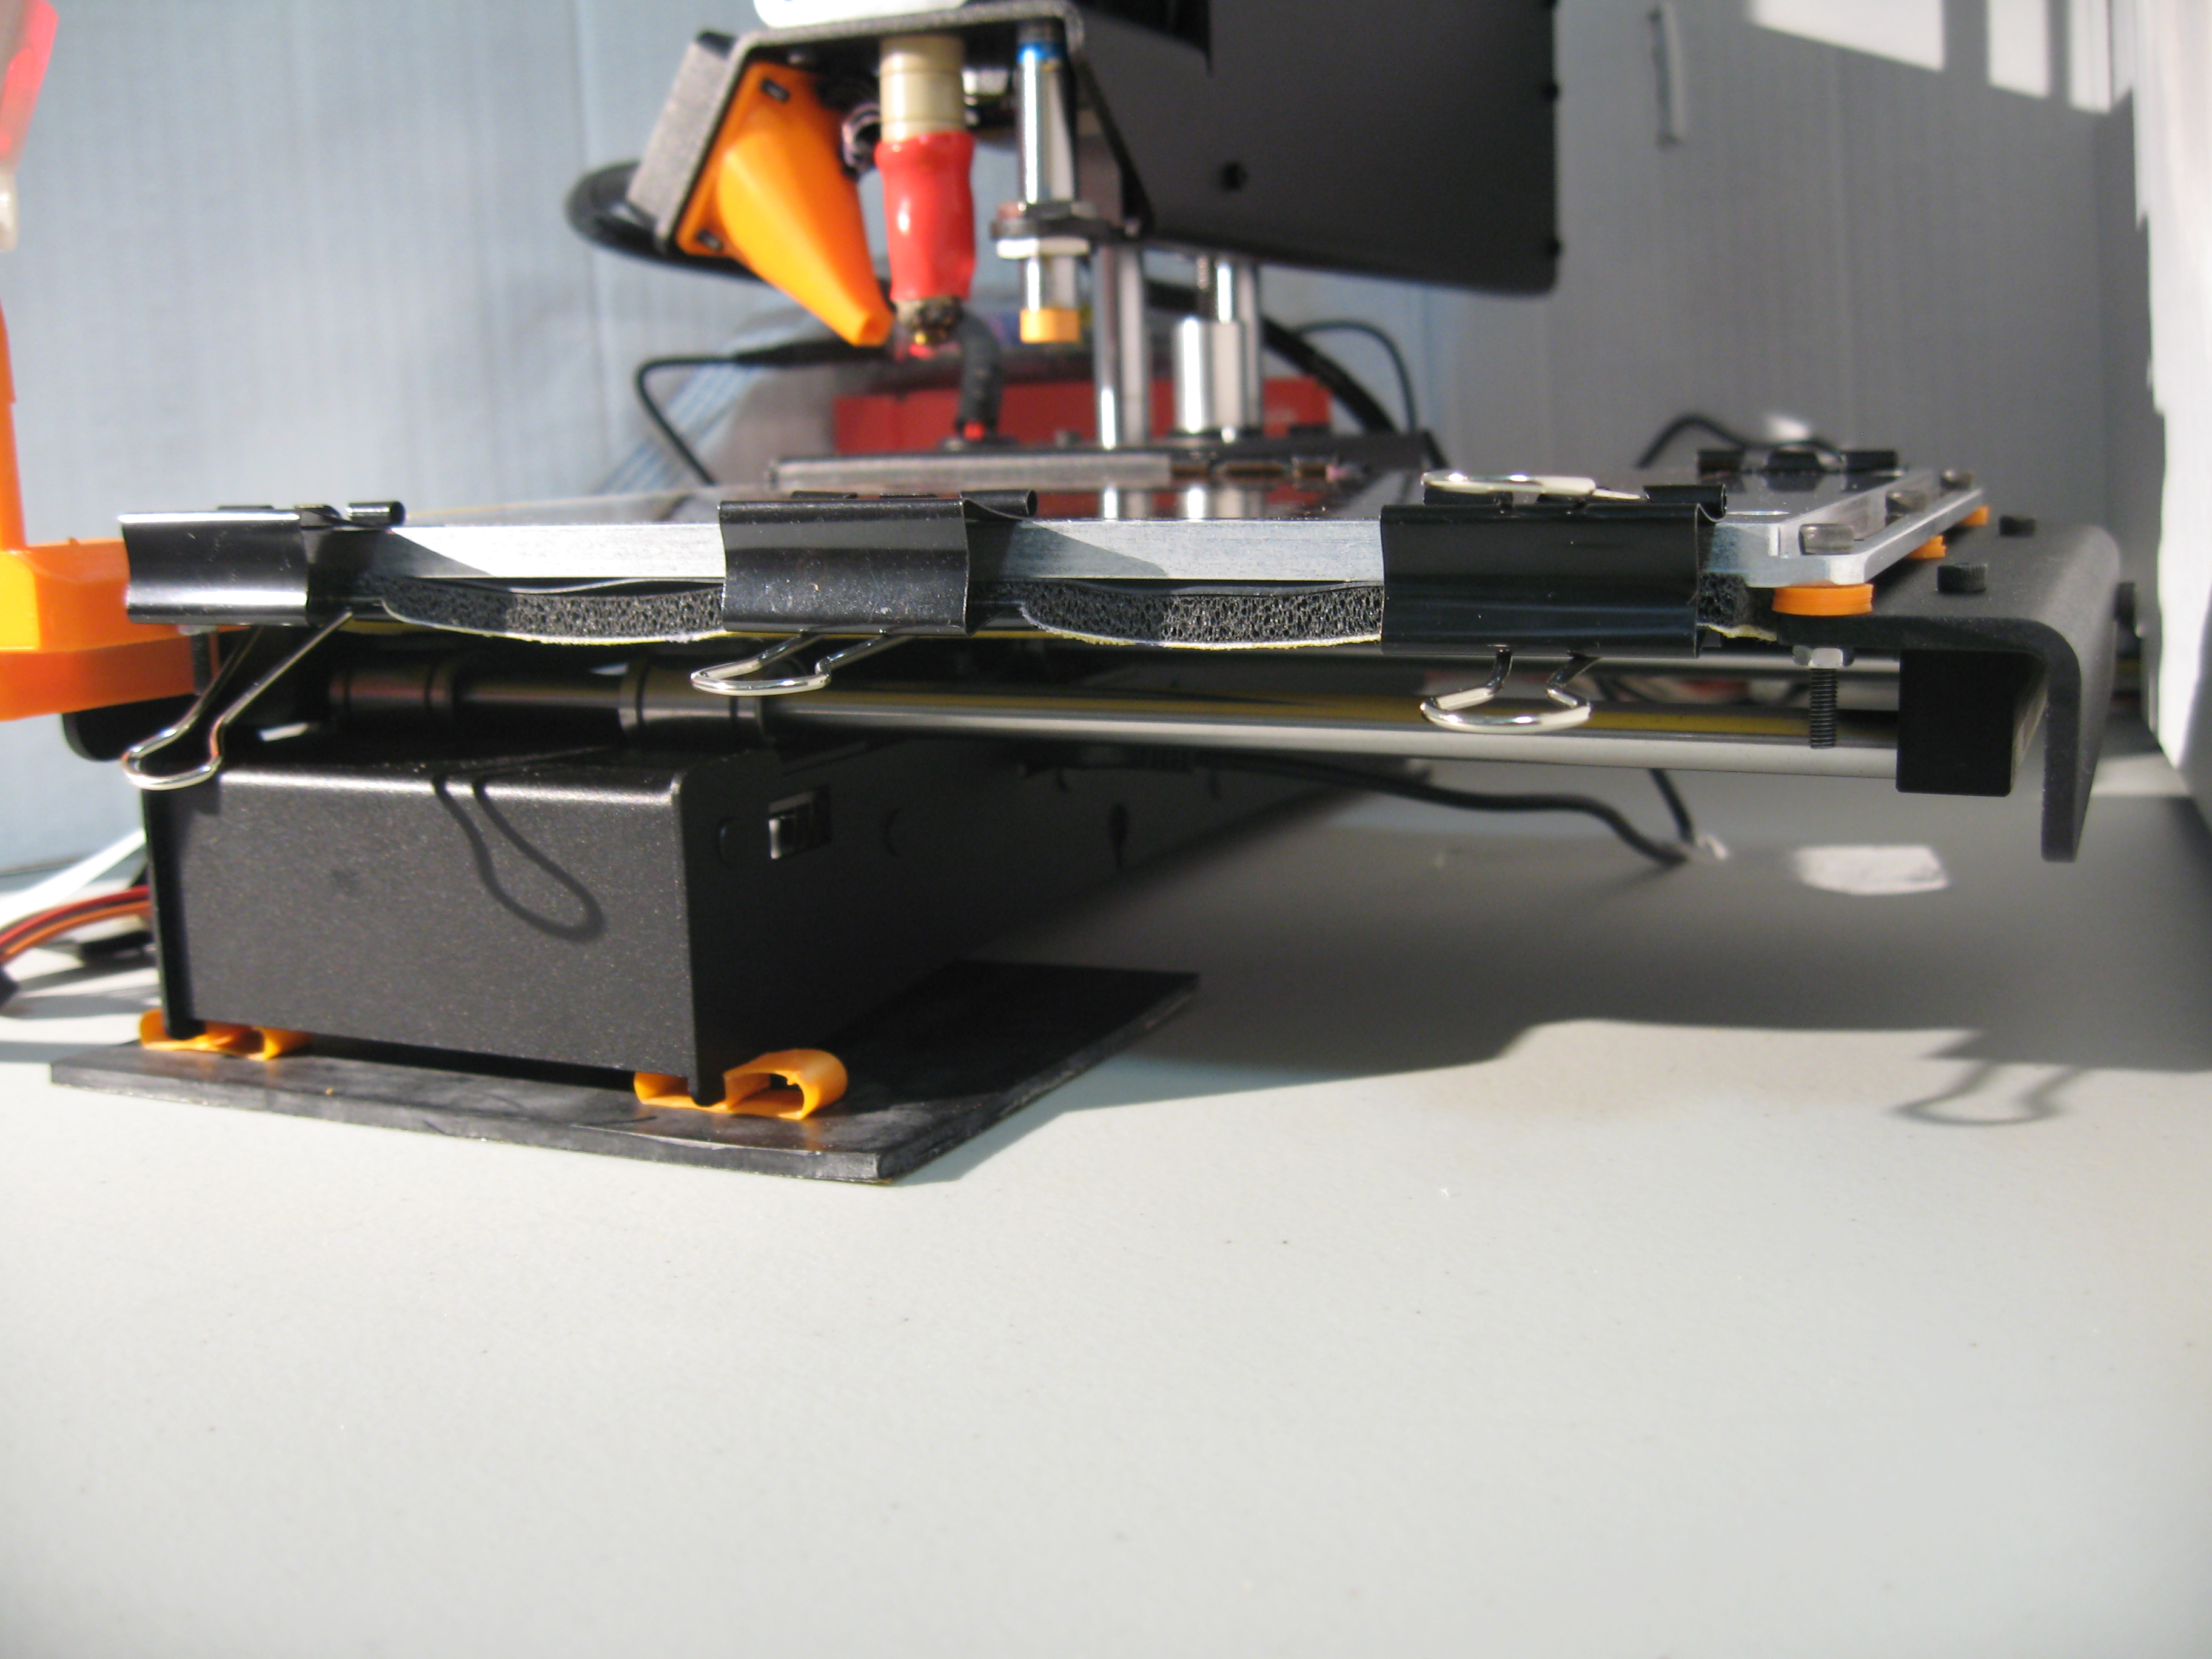
To make this a bit more functional on my printer, I had to raise the print bed by about 1 cm. Already having a 3D printer, making standoffs to accomplish this was a breeze. The stack up is shown below.

Lifting the bed
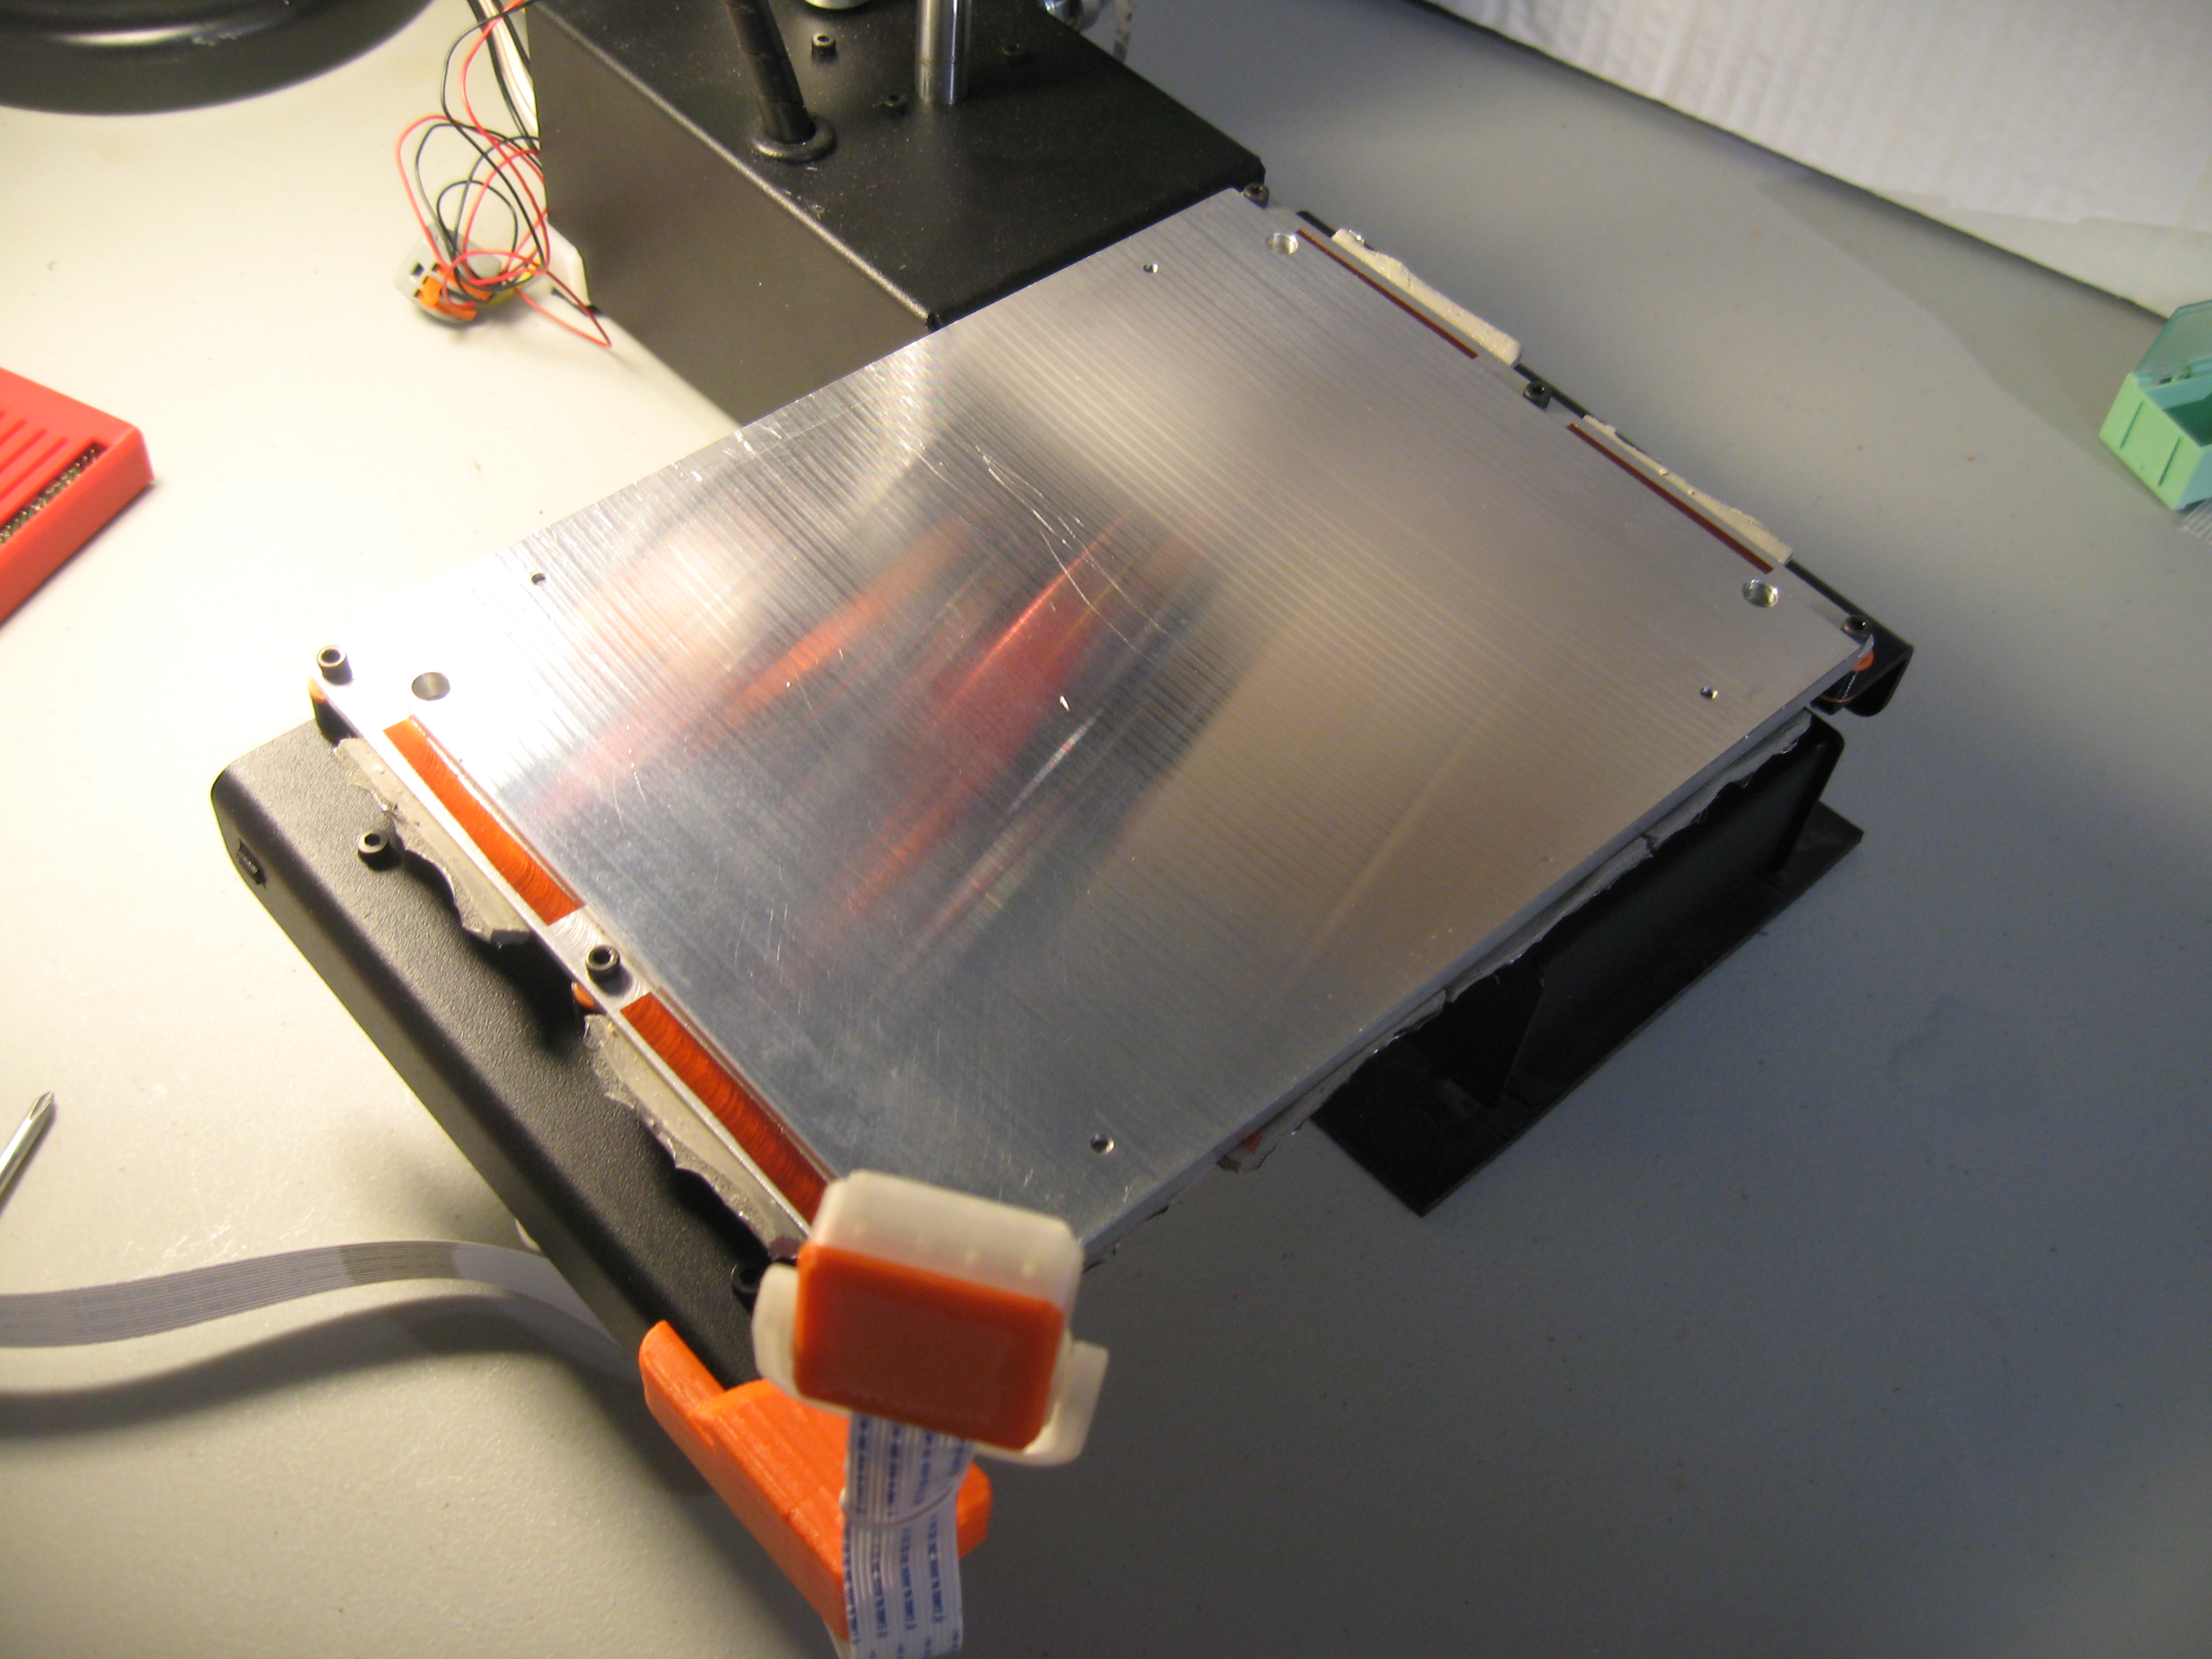
Aluminum Bed
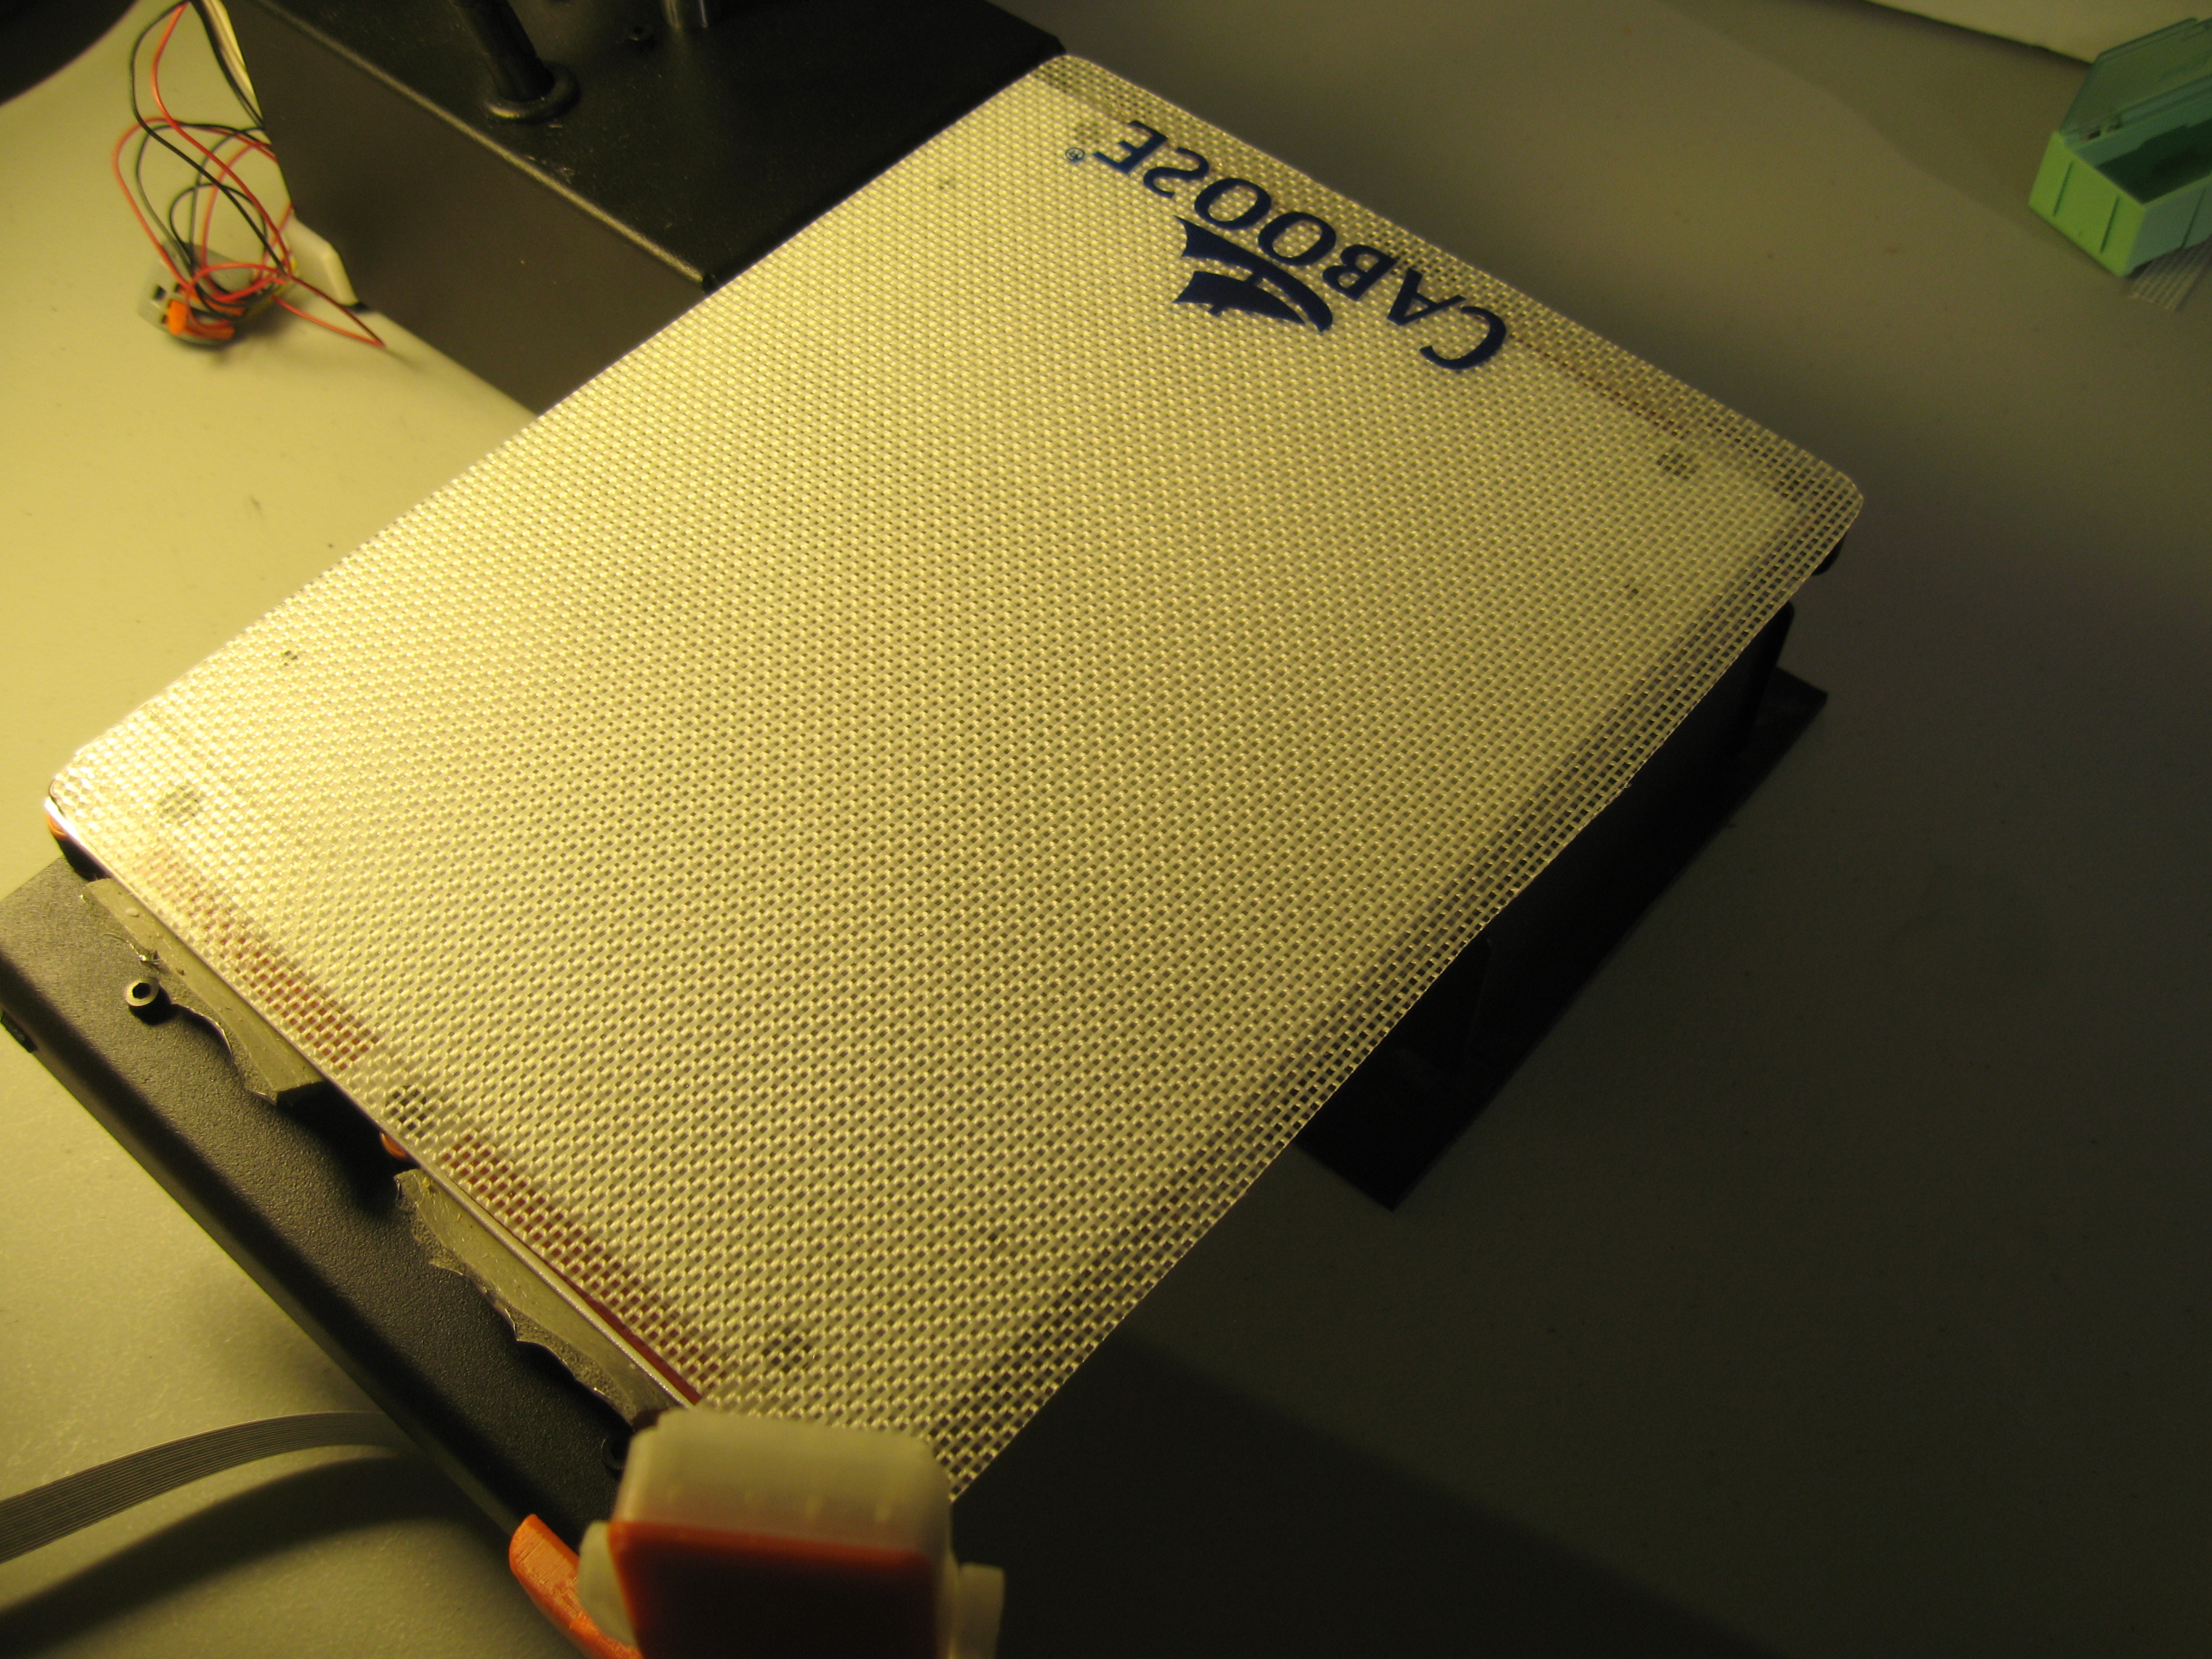
Silicone baking mat for high-friction & thermal conductivity
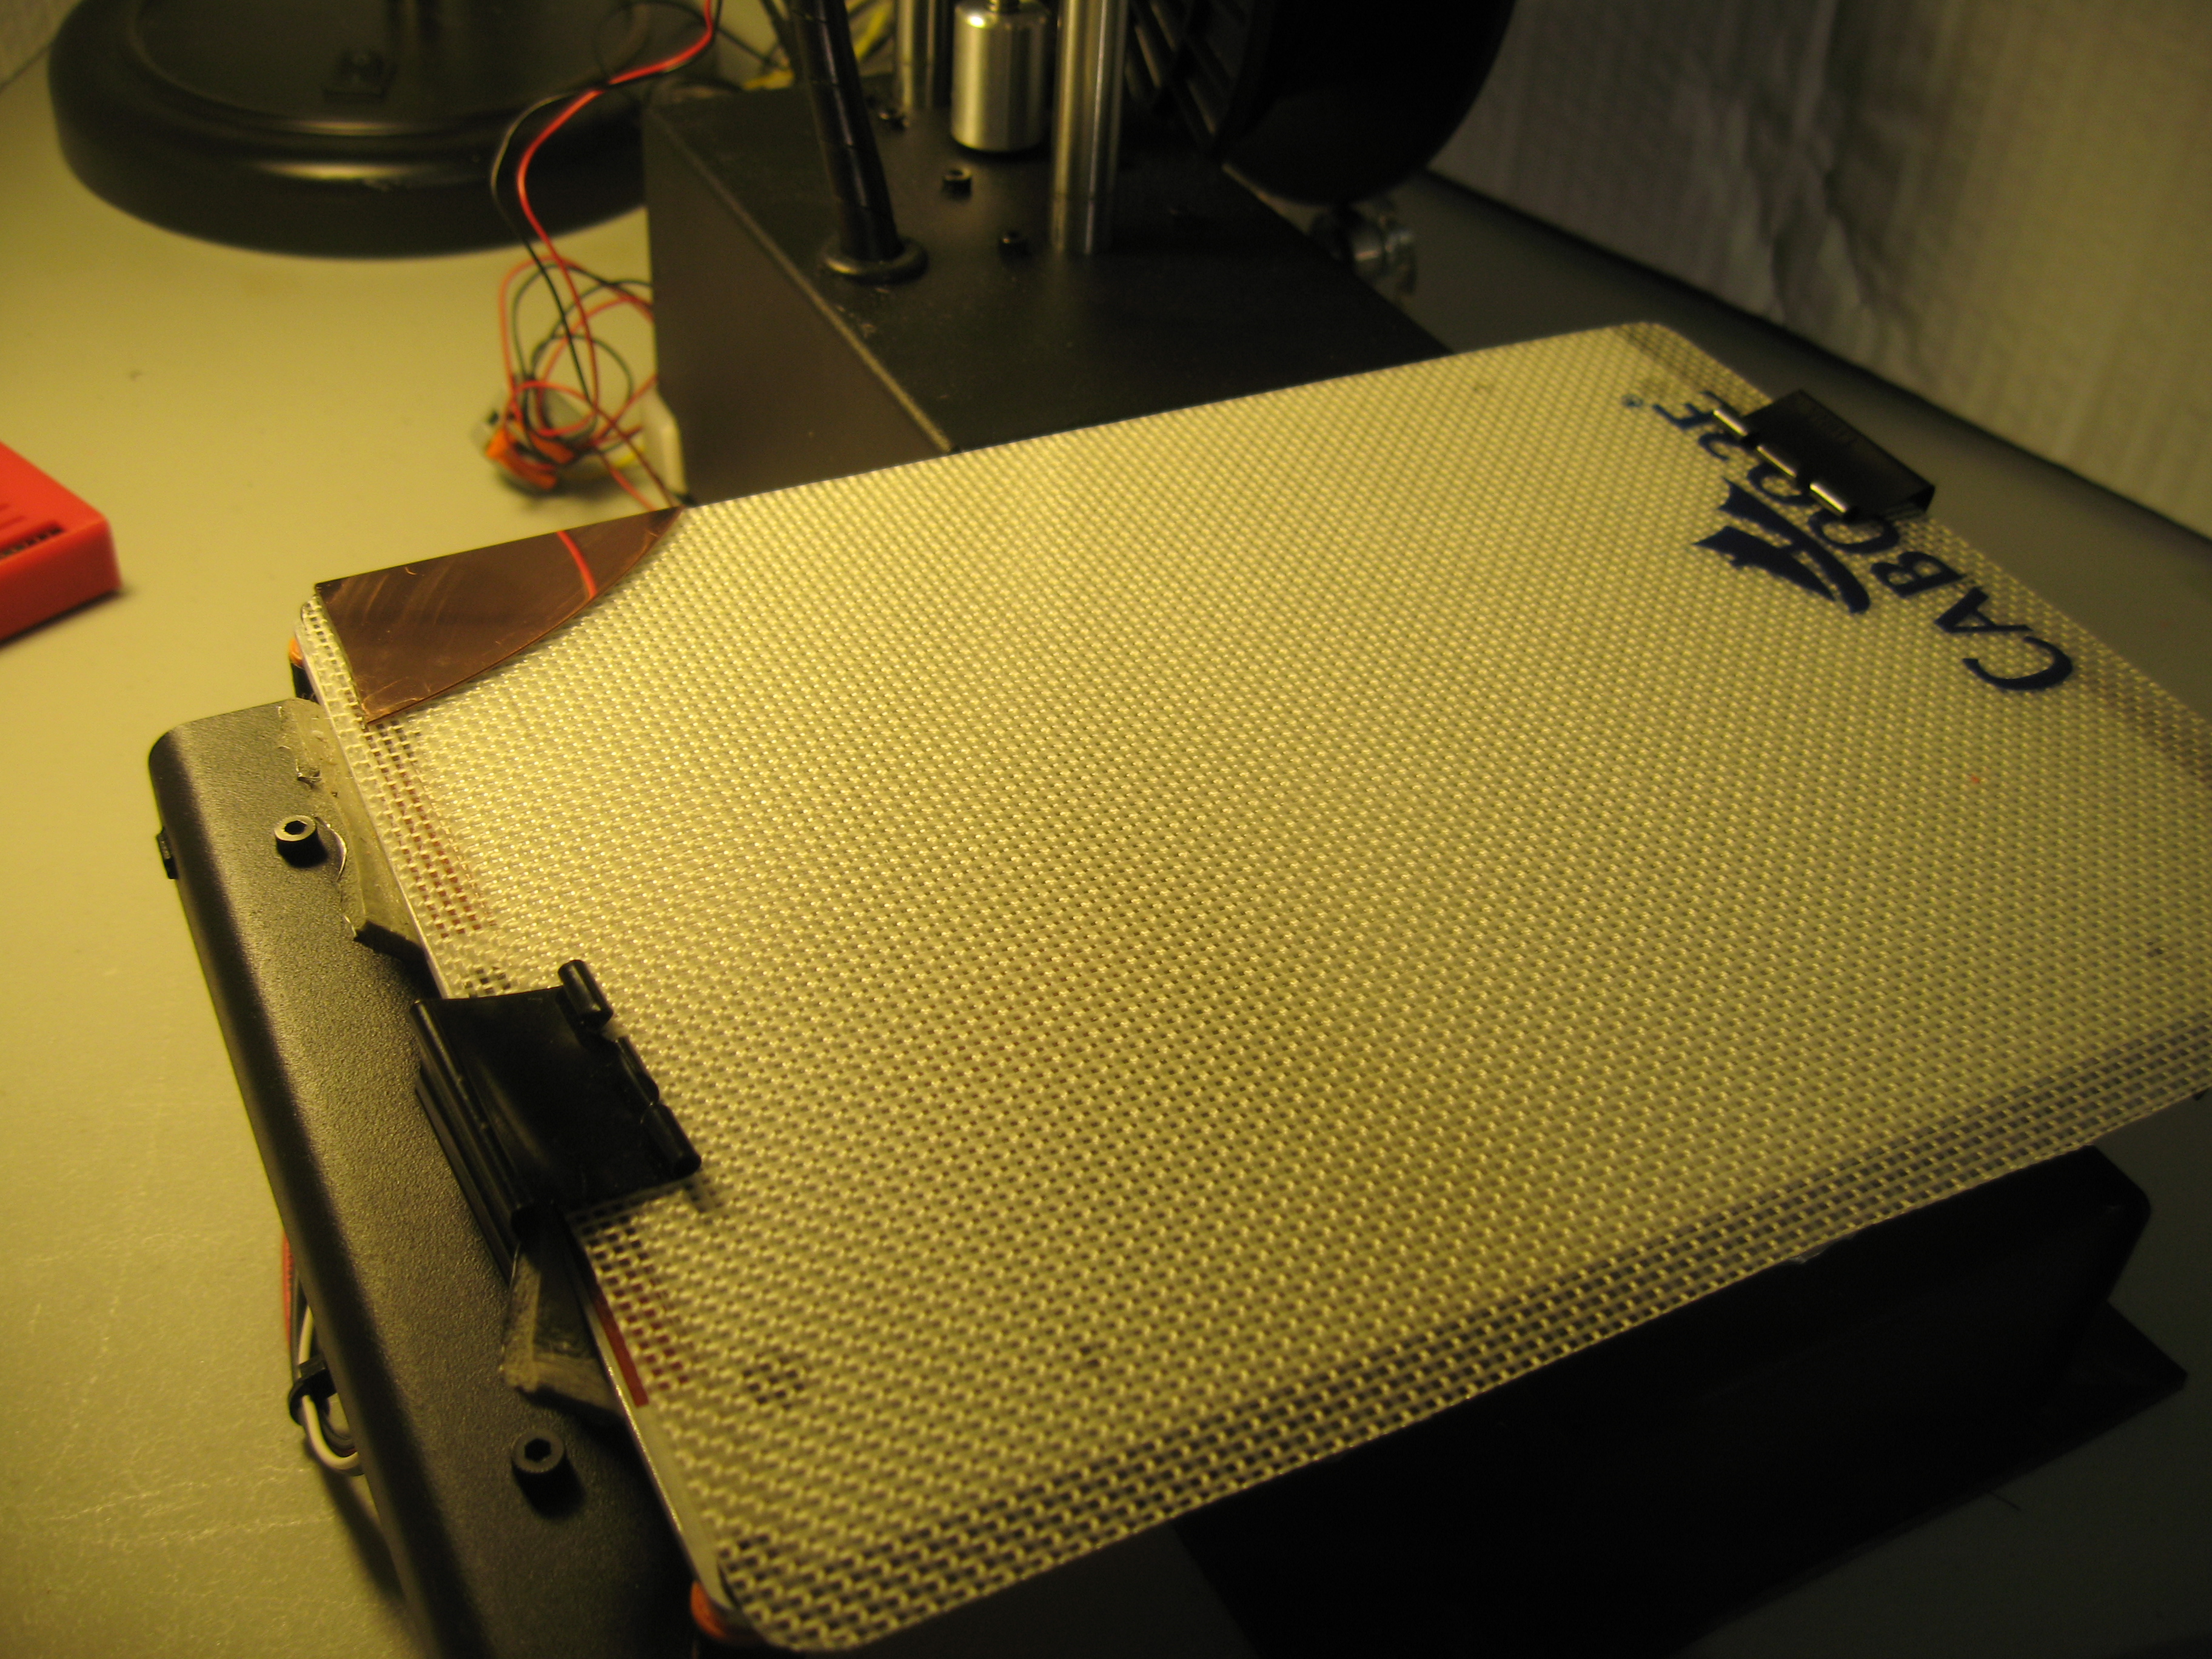
Binder clips and fragment of silicon for the home position

Wafer on the bed, smothered in purple glue stick and ready to print!
This effort was much more rewarding than I anticipated, both in sheer fun and in functionality. I’ve expended much more effort for much less improvement in the past.
10/10 – Would buy & build again.
Now if anyone has a lead on 12″ wafers at a reasonable price…